Build your main menu in a ScreenGui in Roblox Studio, add your title and buttons inside, and connect actions to each button so the menu responds when clicked. If the GUI appears but nothing works, focus on wiring up the button logic as well as arranging the layout.
Set up the main menu screen GUI
Add a new ScreenGui and create the menu base. Group the title, action buttons, and supporting UI elements together for simpler organization, and let UI layout elements handle their alignment rather than positioning them by hand. This keeps the menu structured and easy to manage.

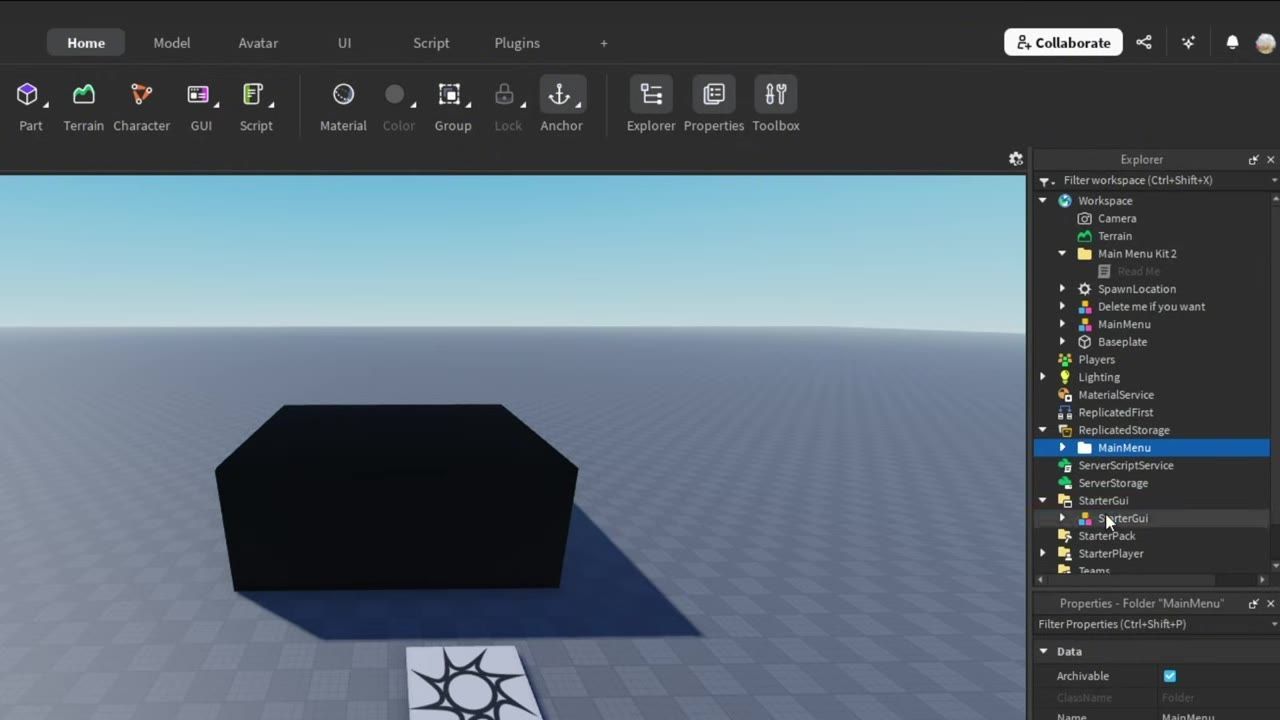
Roblox Studio shows a project open with the Explorer panel on the right and a basic scene in the viewport. — kadahko
prerequisites
- Install Roblox Studio and open your project.
- Open the Explorer and Properties panels.
- Insert a ScreenGui into the UI section for your player.
- Add a Frame to hold the menu layout.
- Prepare individual TextLabel and TextButton elements for your menu's title and buttons.
Build the buttons and start menu layout
Insert TextButton objects for each menu action (for example, Play, Settings, Credits) and arrange them where the player will see and recognize them right away. Keep the menu title in its own space and use frames or padding to separate the title from the interactive buttons for a tidy look.

Roblox Studio displays a main menu layout with Play, Settings, and Credits buttons and a settings panel. — kadahko
steps
- Select your main Frame inside the ScreenGui.
- Add a TextLabel at the top for your game title.
- Insert several TextButton elements (Play, Settings, Credits) under the main Frame.
- Use frames or vertical layout objects to separate areas and keep the menu visually organized.
- Space out the buttons evenly so each one stands alone and is easy to click.
Wire the menu buttons to game actions
A menu that only looks good is not enough—make each button actually work by connecting its click to the required game action. Hook up the button logic directly in a LocalScript so that, for example, clicking the Play button will do what the player expects.

Roblox Studio shows a game menu interface with Play, Settings, and Credits buttons on screen. — kadahko
steps
- Add a LocalScript to the ScreenGui or its Frame.
- Within the script, reference each button in the menu.
- Connect an
ActivatedorMouseButton1Clickevent for each button, depending on which is present. - Assign the required behavior (such as hiding the menu Frame, starting the game, showing a settings panel, etc.) in the event handlers.
- Test the buttons in Play mode to make sure they respond as intended.
Example script to connect Play button logic:
-- Place this LocalScript inside the menu Frame or ScreenGui

local playButton = script.Parent:FindFirstChild("PlayButton")
local menuFrame = script.Parent

if playButton then
	playButton.MouseButton1Click:Connect(function()
		menuFrame.Visible = false
		-- Add further game start logic here
	end)
end
Customize the menu interface
You can give your main menu a unique look by changing button images, the menu title, and any supporting labels. Swap image assets or update the title text to match your game's branding or desired style.
before after
Original
- Default button images and labels.
- Standard "Game Title" text in the menu header.
Customized
- New button images loaded into ImageButtons or updated backgrounds on TextButtons for a different look.
- The title label's Text property changed to your game's real name.
Fix common main menu problems

Roblox Studio shows the menu setup in the editor with the workspace, Explorer, Properties, and a visible UI element in the viewport. — kadahko
Add more menu options later
You can expand your main menu with new settings or options as your game grows:
Extending your menu
Choose to add new options like graphics toggles, mute buttons, or player mode choices as new buttons in the same menu structure. To support things like choosing teams or different play modes, add these as extra buttons or create panels that open from the main menu, re-using the existing GUI organization so everything remains tidy and predictable for your players.
Also worth knowing
- Menu delay: To make the menu appear after a short delay instead of instantly, add a wait or timer before setting the GUI to visible.
- Customization files: If you expect to swap menu kits or assets, keep all customization files in the same place to speed up editing.
- Button images and labels: Change button images or the title text in the Properties panel by updating the image asset or label Text field.
- Extra settings: Add additional options like music mute or graphics toggles by inserting new buttons and connecting their logic.
- Respawn bug: If the menu appears again after a player dies, handle the menu's visibility or logic to only trigger during first load.
- Team-specific menus: To show the menu only to certain teams or offer player routing (story mode, freeplay, etc.), script those checks into your button handlers or GUI logic.
FAQ
Roblox Studio menu screen GUI tutorial
Create a ScreenGui in Roblox Studio, add title and button elements inside it, arrange them with layout controls, and wire button events in a LocalScript so the menu responds to clicks.
how to make a main menu in Roblox Studio
Set up a ScreenGui, design your menu layout with title and button elements, and script each button to trigger the desired actions when clicked, such as starting the game or opening a settings panel.
Roblox start menu UI tutorial
Build the start menu UI by grouping a title and one or more menu buttons in a Frame under a ScreenGui, use vertical layouts to space them, and connect button events to handle Play and Settings logic.
Roblox GUI buttons tutorial
Insert TextButton or ImageButton objects, style them as needed in the Properties panel, and use a LocalScript to connect the MouseButton1Click event for each button to make them interactive.
Roblox menu system for beginners
Begin by grouping your menu components in a ScreenGui, arranging your labels and buttons, then attaching scripts to those buttons so your main menu not only displays but actually starts the game or opens other menus when a player clicks.
Official reference: Roblox Creator documentation.
Sources
Screenshots on this page are frames from the videos below, used to illustrate the steps they describe. All rights remain with their creators.
- [ FREE ] Menu Screen GUI // Roblox Studio — kadahko, October 17, 2024
Checked against:
- https://create.roblox.com/docs/release-notes — create.roblox.com