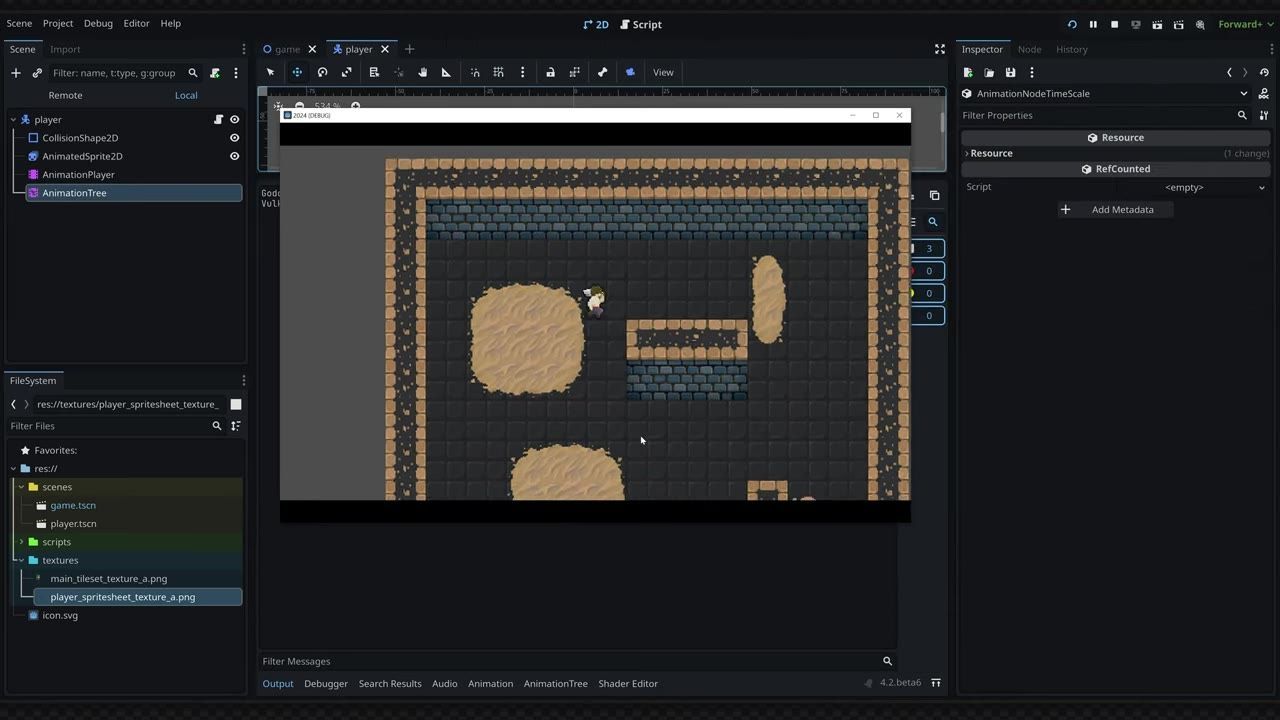
Set up your collision layers and input actions, create a CharacterBody2D-based player scene with CollisionShape2D and AnimatedSprite2D, build directional animations inside an AnimationTree, and then implement GDScript that reads input, drives velocity, and moves the character with collision. This process gives you a responsive, colliding, animated player controller in Godot 4.
Set up collision layers and input actions
Before building your player controller, start by configuring the physics collision layers and input actions the system will use.
prerequisites
- Open Project Settings from the Project button at the top of the editor.
- Under the 2D Physics section, define a new collision layer named world (for tiles and world collisions) and another named player (for the player character).
- Go to the Input Map tab and add four actions: move_left, move_right, move_up, and move_down.
- Assign key events to each action (for example, A/D/W/S or arrow keys) so the player can register movement inputs.

The Project Settings window is open on the 2D Physics layers section in the Godot editor. — Queble
Create the player scene with CharacterBody2D
Build the player scene as a separate scene file using the CharacterBody2D node.
steps
- Create a new scene and choose CharacterBody2D as the root node.
- Rename the node to Player.
- Add a CollisionShape2D as a child node, and assign a CircleShape2D in the shape property. Resize it later as needed.
- In the Collision settings of the player node, set its layer to your player layer and the mask to the world layer, so the player collides with world elements but not itself.

The Godot editor shows a player CharacterBody2D selected in the scene tree and its properties in the inspector. — Queble
Add AnimatedSprite2D and prepare idle and run frames
Make your player visible and ready for animation with an AnimatedSprite2D node and organized animation frames.
steps
- Add AnimatedSprite2D as a child of the Player node.
- In the properties, create a new SpriteFrames resource.
- Add idle and run animations to the SpriteFrames editor.
- Import frames for each animation using the grid icon, setting the horizontal and vertical counts based on your sprite sheet.
- For idle, select all frames for left, right, up, and down in the correct order.
- For run, do the same for running frames in each direction.
- If your sprite appears blurry, adjust the project texture filter: in Project Settings > Rendering > Textures, set the default texture filter to nearest to remove blurring from pixel art.
Build the AnimationTree for directional movement
Set up an AnimationTree node with state machines and blend spaces to smoothly manage animations based on player input.
steps
- Add an AnimationTree node to the Player and assign its Animation Player property to the AnimationPlayer node.
- Create a new State Machine as the root in the AnimationTree editor.
- Add two nodes in the state machine: one for idle and another for run.
- Inside both idle and run states, add a BlendSpace2D. Place points for left, right, up, and down, each linked to the relevant animation.
- Set the blend mode to frame-based so that animations snap correctly to each direction.
- Use a Time Scale node to tweak playback speeds if animations run too slowly or quickly.

The Godot editor displays the AnimationTree graph with Start and End nodes visible in the bottom dock. — Queble
Write the player controller script
Implement the movement, input handling, and animation state logic in a GDScript attached to your Player node.
steps
- In the Player scene, attach a new script to the root node and save it in your project.
- Define constants for acceleration, friction, and max speed.
- Use the four input actions inside
Input.get_vector()to obtain a directional input vector. - Apply friction to the player's velocity when idle. When input is present, add acceleration in the input direction, clamp velocity to your max speed, and store the blend position for animation.
- Use
move_and_slide()in_physics_process()to move and collide, and update the animation tree parameters to correctly switch and blend directional animations.
extends CharacterBody2D

const ACCELERATION := 800
const FRICTION := 500
const MAX_SPEED := 120

enum {IDLE, RUN}
var state = IDLE

@onready var animation_tree = $AnimationTree
@onready var state_machine = animation_tree["parameters/playback"]

var blend_position = Vector2.ZERO
var blend_position_paths = [
    "parameters/idle_blend/blend_position",
    "parameters/run_blend/blend_position"
]
var anim_tree_state_keys = ["idle", "run"]

func _physics_process(delta):
    _move(delta)
    _animate()

func _move(delta):
    var input_vector = Input.get_vector("move_left", "move_right", "move_up", "move_down")
    if input_vector == Vector2.ZERO:
        state = IDLE
        _apply_friction(FRICTION * delta)
    else:
        state = RUN
        _apply_movement(input_vector * ACCELERATION * delta)
        blend_position = input_vector
    move_and_slide()

func _apply_friction(amount):
    if velocity.length() > amount:
        velocity -= velocity.normalized() * amount
    else:
        velocity = Vector2.ZERO

func _apply_movement(amount):
    velocity += amount
    velocity = velocity.limit_length(MAX_SPEED)

func _animate():
    state_machine.travel(anim_tree_state_keys[state])
    animation_tree.set(blend_position_paths[state], blend_position)
Hook the player into the main scene and test collision
Finish by adding the player to your world scene and verifying that movement and collisions work in play mode.

Godot editor is open on a 2D scene with the player and Camera2D visible in the scene tree. — Queble
Also worth knowing
- AnimationTree panel location: The AnimationTree dock is sometimes hidden at the bottom panel of the editor. To access blend spaces and state machines, open this panel.
- Flipping animations: If your sprite sheet only has right-facing frames, use the AnimatedSprite2D Flip H property in AnimationPlayer to create left-facing animations, and animate Flip H off for the opposite.
- Directional priority: If you want left–right movement to take priority over up–down (for better diagonal behavior), move the up and down blend points slightly outward so that diagonals favor left–right.
- Movement feels slippery: If movement feels icy or unresponsive, tweak acceleration, friction, and max speed constants until it feels tight.
- Exact input action names: Input action names are case-sensitive. Using
Move Upinstead ofmove_upbreaks input reading. - Flickering direction or wrong facing: If the character flickers or faces the wrong way, check your sprite sheet and AnimationTree direction setup—not just the code.
FAQ
Godot 4 character movement and collision tutorial
Set up collision layers and input actions first, then build a CharacterBody2D player scene with a CollisionShape2D, AnimatedSprite2D, and AnimationTree. Implement movement in GDScript using input vectors, velocity, and move_and_slide for responsive, colliding movement.
how to move a player in Godot 4
Read movement input with Input.get_vector, change the player's velocity, and move using move_and_slide in the physics process.
Godot 4 top-down movement tutorial
Use four input actions for direction, blend space animations in the AnimationTree, and a player script that calculates movement and animation direction for smooth top-down controller behavior.
fix collision issues in Godot 4 movement
Ensure your player has a CollisionShape2D, the collision layer is set to player, the mask includes the world, and world objects are on the correct collision layer for interaction.
beginner player controller in Godot 4
Start with a single player scene, add AnimatedSprite2D and AnimationTree for visuals, and keep the initial movement script simple before introducing advanced mechanics.
Official reference: Godot documentation.
Sources
Screenshots on this page are frames from the videos below, used to illustrate the steps they describe. All rights remain with their creators.
- Godot Character Movement | Top-down Tutorial — Queble, January 14, 2024