Create a Unity project, open a scene, add a player GameObject or a Starter Assets controller, then test movement in Play mode. Import the Starter Assets from the asset store, use the Package Manager, drop the required prefabs into the Hierarchy, and check their Inspector settings before entering Play mode.
Project setup
prerequisites
- Go to the Package Manager, then select My Assets to find and download the Starter Assets packages.
- Import the Starter Assets into your project. Required packages like Cinemachine and Input System are installed with them.
- If your project uses a different render pipeline (Universal or HD), use the pipeline's menu to update project materials before you test the controllers.
Scene management
steps
Open the Playground or demo scene from the Project window so you have a working environment to test in.
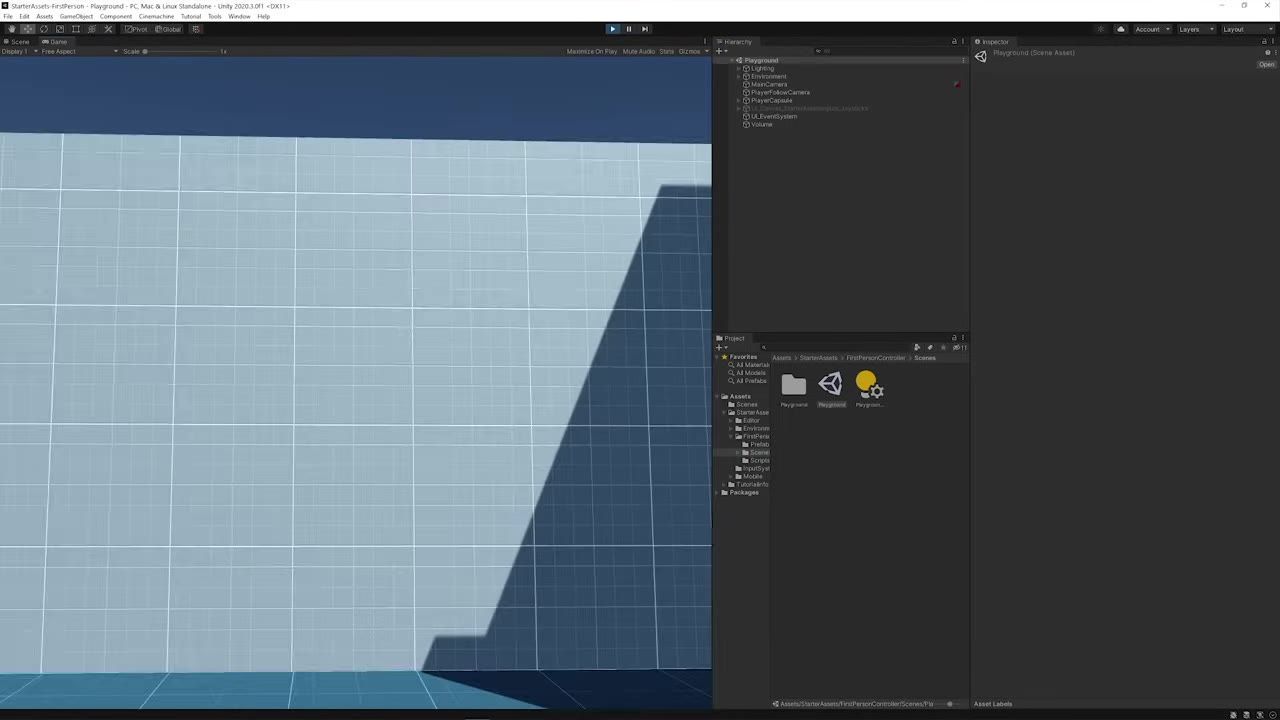
The Project window is open to the Scenes folder with the Playground scene highlighted. — Unity
If your scene has its own Main Camera, remove it to avoid conflicts with the controller cameras.
In the editor's Tools menu, select Reset First Person Controller or Reset Third Person Armature to place a Starter Assets controller in the active scene. Alternatively, drag the appropriate controller prefabs from the Project window into the Hierarchy.
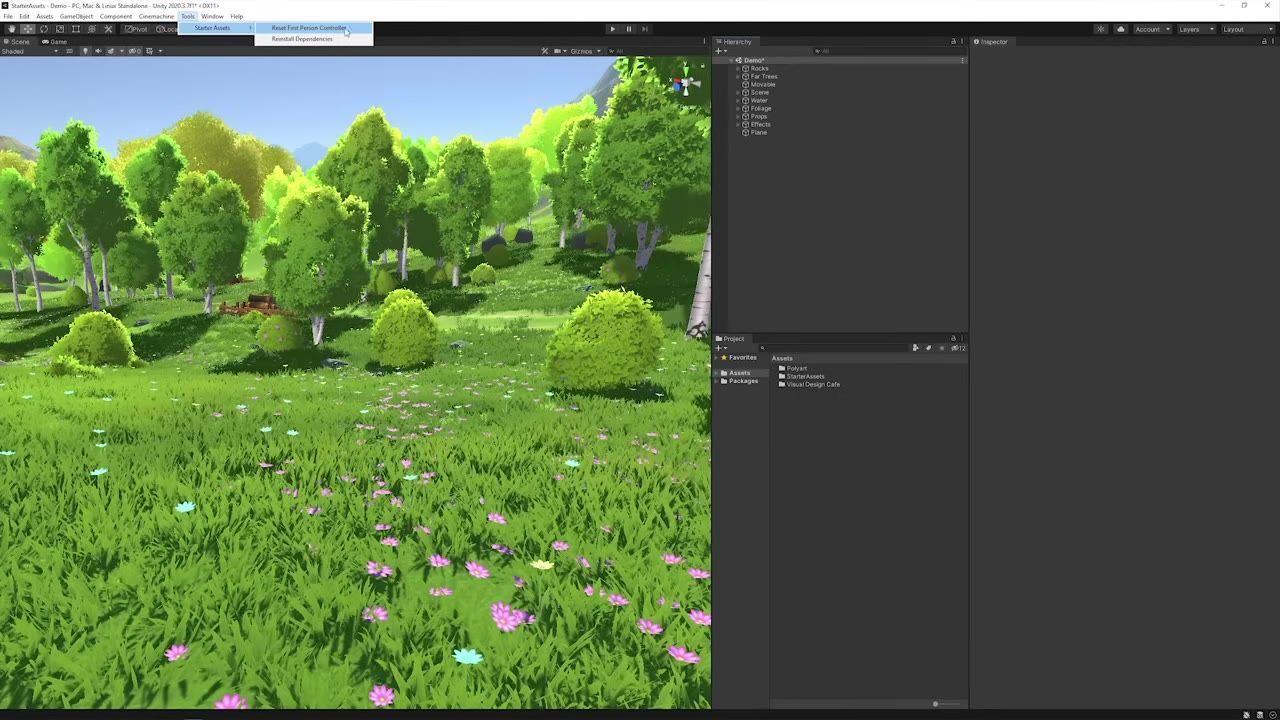
The Unity editor shows a forest scene alongside the Hierarchy panel and an open Starter Assets menu with Reset First Person Controller. — Unity


Prefabs
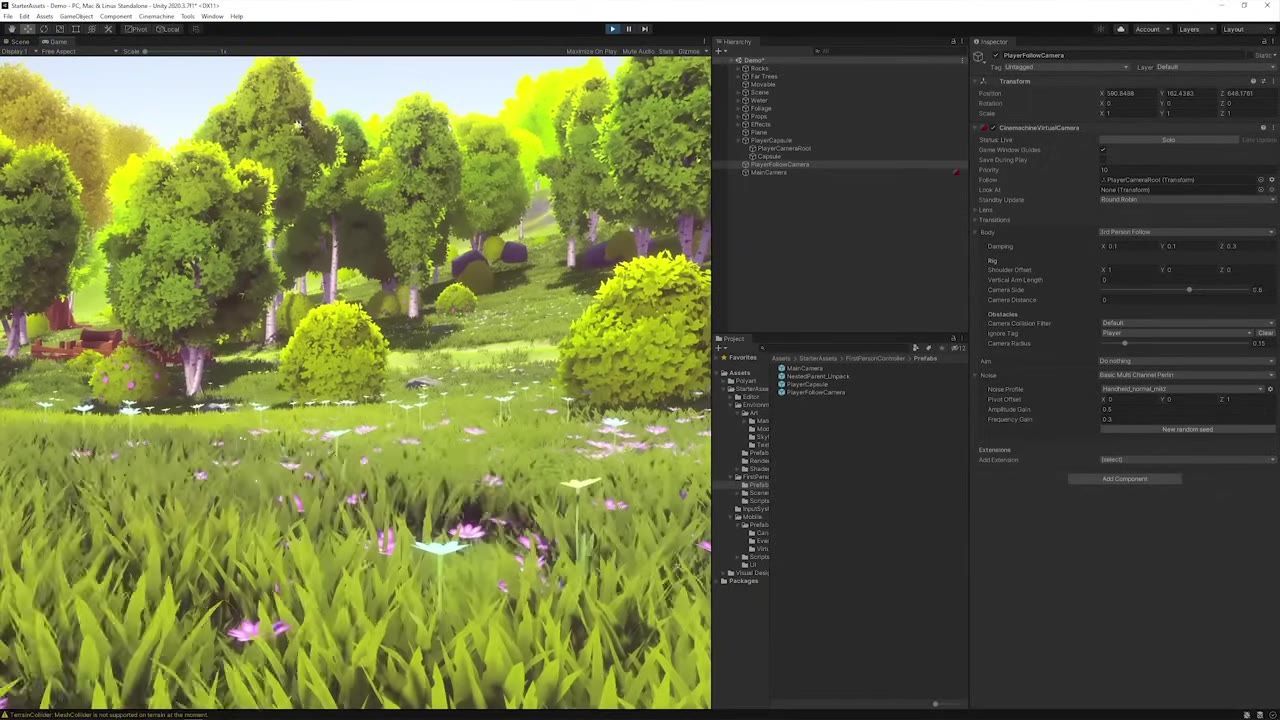
The ready-made controllers are structured as prefab groups. For first-person, use the player capsule, player follow camera, and main camera. The third-person setup uses a player armature (with a rigged model), player follow camera, and main camera.
file tree
First Person Controller/
├── MainCamera
├── PlayerFollowCamera
└── PlayerCapsule

Third Person Controller/
├── MainCamera
├── PlayerFollowCamera
└── PlayerArmature
The Unity Hierarchy shows the main camera, player follow camera, and player capsule objects. — Unity
You can swap the visible character in third-person setups by replacing the model under the player armature.
Inspector
Select the player or camera object in the Hierarchy and edit its movement settings in the Inspector. Key settings include move speed, sprint speed, jump height, ground detection, and object pushing. For camera follow, confirm that the virtual camera’s follow target is set to the player camera root object.

The Inspector panel shows the player object with controller settings like move speed, sprint speed, and jump height. — Unity
If you use a custom character, make sure the model's rig is set to humanoid and update the Animator avatar on the parent player object.
Player movement
steps
- Enter Play mode.
- Move with WASD, arrow keys, or a left joystick (with a gamepad).
- Use the mouse or a right joystick to look around in first person.
- Hold Shift to sprint and press Space to jump (first-person only).
- In third-person, check that the character responds correctly to keyboard, mouse, or gamepad input.
Input system
Unity beginner setup guide
Also worth knowing
- Starter Assets save time: The Starter Assets package provides controllers that replace older default setups and significantly reduce setup work for beginners.
- UI Event System matters for touch: Touch controls might not work if the UI Event System is not correctly included alongside the UI canvas in the scene.
- Version differences matter: If something does not work as expected, check whether your project and assets match the recommended versions, as workflows can differ between Unity releases.
FAQ
how to make a Unity project
Open Unity Hub and create a new project using a compatible template. After the project loads, import the Starter Assets through the Package Manager to get started with character controllers.
Unity first 2D game tutorial
This guide covers the setup for Unity's starter 3D controllers. To begin with 2D, start a new project and search for specific 2D controller assets or use the 2D templates provided in Unity.
Unity scene and prefab basics
Scenes in Unity are separate game levels or environments. Prefabs are reusable groups of GameObjects—such as player characters or cameras—that you can drop into a scene via the Hierarchy.
Unity player movement script
Starter Assets include ready-to-use player movement scripts. Once imported, you can adjust movement values in the Inspector or explore and edit the scripts attached to the player prefab for further customization.
Unity beginner setup guide
Begin by using a playground scene and placing the Starter Assets controller. Replace the character mesh and avatar as needed.
Unity input system for beginners
The Input System package is included and installed with Starter Assets. It handles keyboard, mouse, gamepad, and touch input, including on-screen mobile controls if UI input prefabs and the Event System are properly set up.
Official reference: Unity manual.
Sources
Screenshots on this page are frames from the videos below, used to illustrate the steps they describe. All rights remain with their creators.
- Starter Assets overview | Unity — Unity, June 17, 2021
Checked against:
- Download Archive — Unity