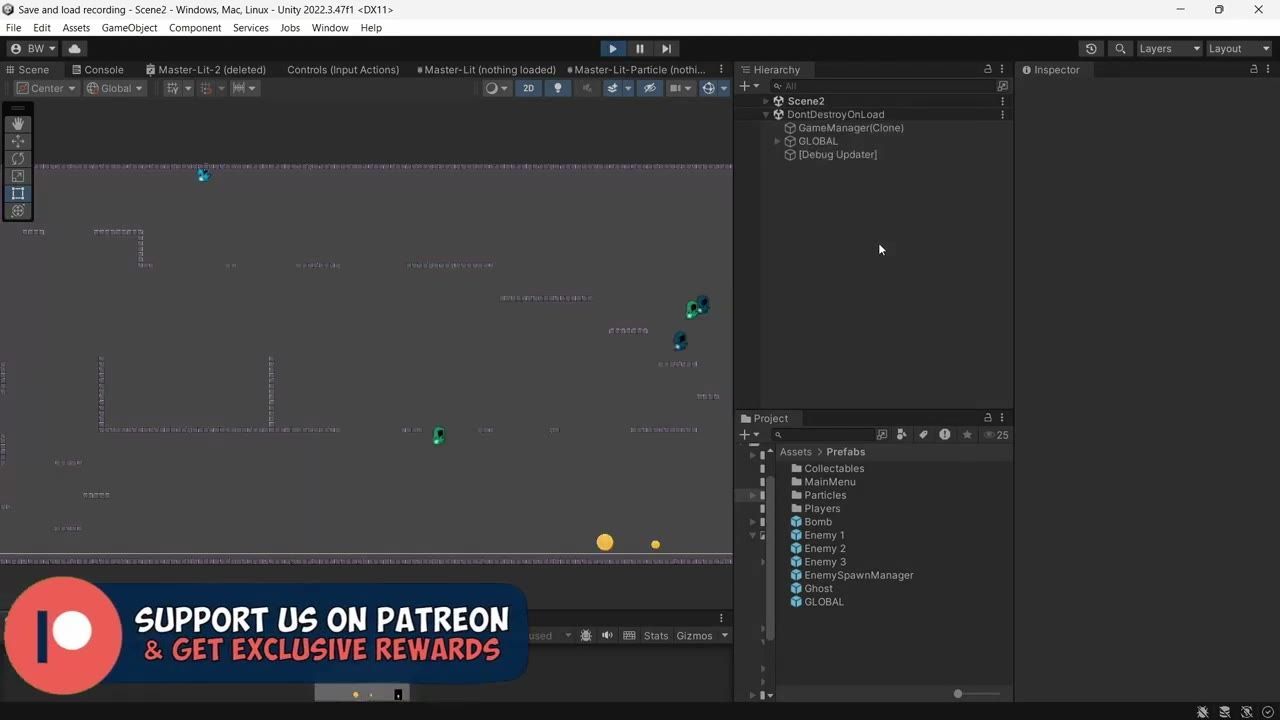
Create serializable data structs for each kind of saveable game state, write them to a file using Application.persistentDataPath, and restore them through matching save and load methods. If game data depends on a new scene finishing its load, use async logic so the scene is ready before objects are recreated or their state is applied.
What the save system stores
A good Unity save and load system separates player position and upgrades, UI-backed currency, enemy state, and scene information into their own serializable structs. Each gameplay script (player, currency manager, enemy spawner, scene tracker) owns its piece of save/load logic for that type of data. All these structs are collected into a single top-level save container so they can be written and read together.
Set up serializable player data
To save player position, add a public serializable struct outside the player class, and matching save and load methods inside it. Remember to use the ref keyword so changes apply to the same struct instance, not a copy.

Player.cs is open near the bottom with a new public struct being started for player save data. — Sasquatch B Studios
steps
- Define a
public structfor player data outside the player class. - Mark the struct with
[System.Serializable]. - Add a
Vector3field to store position. - In the player class, add
SaveandLoadmethods withrefparameters for the struct. - In
Save, set the struct's position to the player's currenttransform.position. - In
Load, settransform.positionto the saved value.
using UnityEngine;

[System.Serializable]
public struct PlayerSaveData {
    public Vector3 position;
}

public class Player : MonoBehaviour {
    // Other player logic...

    public void Save(ref PlayerSaveData data) {
        data.position = transform.position;
    }

    public void Load(ref PlayerSaveData data) {
        transform.position = data.position;
    }
}
Write the main save file to persistent data
Create a SaveSystem script that does not live in the scene, and manages reading and writing your save file using JSON serialization and Unity's persistent data path. Use helper methods to build the filename and write out the serializable top-level data container.

The SaveSystem.cs script is open with the SaveData struct and SaveFileName() helper on screen. — Sasquatch B Studios
file tree
/Assets/Scripts/
  Player.cs
SaveSystem.csusing UnityEngine;
using System.IO;
[System.Serializable]
public struct SaveData {
public PlayerSaveData player;
// Add other data structs here
}
public static class SaveSystem {
private static string SaveFileName() {
return Path.Combine(Application.persistentDataPath, "save.aave");
}
public static SaveData CurrentSave;
public static void Save() {
// Assume a Player instance reference exists
Player.Instance.Save(ref CurrentSave.player);
string json = JsonUtility.ToJson(CurrentSave, true);
File.WriteAllText(SaveFileName(), json);
}
public static void Load() {
if (!File.Exists(SaveFileName())) return;
string json = File.ReadAllText(SaveFileName());
CurrentSave = JsonUtility.FromJson<SaveData>(json);
Player.Instance.Load(ref CurrentSave.player);
}
}Load player data, upgrades, and UI state
To load back your saved data, read the file, convert it to your main save container, and let each gameplay manager restore its state. For UI-backed data like currency, call the relevant UI update methods in your load logic so the display matches what is stored.

A file browser showing the save file is open over the running game, with the player character and UI visible in the background. — Sasquatch B Studios
steps
- Read the save file from disk.
- Use
JsonUtility.FromJsonto deserialize it to your save container struct. - Call each saveable script's
Loadmethod with its piece of the restored data. - For upgrades (booleans), call the unlock methods during load to re-enable abilities.
- For UI-backed values, trigger the UI update inside the load method.
public class PlayerUpgrade : MonoBehaviour {
    [System.Serializable]
    public struct UpgradeData {
        public bool bombUnlocked;
        public bool doubleJumpUnlocked;
    }

    public void Save(ref UpgradeData data) {
        data.bombUnlocked = this.bombUnlocked;
        data.doubleJumpUnlocked = this.doubleJumpUnlocked;
    }

    public void Load(ref UpgradeData data) {
        if (data.bombUnlocked) UnlockBomb();
        if (data.doubleJumpUnlocked) UnlockDoubleJump();
    }

    void UnlockBomb() { /* Activate bomb ability */ }
    void UnlockDoubleJump() { /* Activate double jump ability */ }
}

public class CurrencyManager : MonoBehaviour {
    [System.Serializable]
    public struct CurrencyData {
        public int coins;
    }

    public void Save(ref CurrencyData data) {
        data.coins = coins;
    }

    public void Load(ref CurrencyData data) {
        coins = data.coins;
        UpdateUICoins();
    }

    void UpdateUICoins() { /* Update UI */ }
}
Save enemies and other scene objects
For objects like spawned enemies, store each one's prefab identity and position. Use a dictionary to track which runtime object maps to which prefab, and walk the list backward when removing entries to avoid skipping any after deletions.
before after
Basic approach
- Iterate forward through the list of enemies.
- Remove dead/null enemies as you go.
- Risk missing items when removing during iteration.
Corrected approach
- Iterate backwards through the enemy list, from last to first.
- Safely remove dead/null enemies during iteration.
- Collect prefab identity and position in a save struct for each live enemy.
[System.Serializable]
public struct EnemySaveEntry {
    public string prefabID;
    public Vector3 position;
}

[System.Serializable]
public struct EnemySaveData {
    public EnemySaveEntry[] enemies;
}

public class EnemySpawnManager : MonoBehaviour {
    public List<Enemy> enemies;
    public Dictionary<GameObject, GameObject> prefabLookup;

    public void Save(ref EnemySaveData data) {
        List<EnemySaveEntry> entries = new List<EnemySaveEntry>();
        for (int i = enemies.Count - 1; i >= 0; i--) {
            if (enemies[i] != null) {
                var prefab = prefabLookup[enemies[i].gameObject];
                entries.Add(new EnemySaveEntry {
                    prefabID = prefab.name,
                    position = enemies[i].transform.position
                });
            } else {
                enemies.RemoveAt(i);
            }
        }
        data.enemies = entries.ToArray();
    }

    public void Load(ref EnemySaveData data) {
        // Clear existing enemies and lists
        foreach (var enemy in enemies) Destroy(enemy.gameObject);
        enemies.Clear();
        prefabLookup.Clear();

        // Spawn from saved data
        foreach (var entry in data.enemies) {
            var prefab = FindPrefabByName(entry.prefabID);
            var enemyObj = Instantiate(prefab, entry.position, Quaternion.identity);
            enemies.Add(enemyObj.GetComponent<Enemy>());
            prefabLookup.Add(enemyObj, prefab);
        }
    }

    GameObject FindPrefabByName(string name) { /* Look up prefab by name */ }
}
Save and load scene state
To keep track of which scene to load, make a ScriptableObject for each scene, each with a unique ID and build index. Store a scene data script in every loadable scene. Add a scene loader to your persistent game manager, which looks up scenes by ID when loading. If there is no scene for the saved ID, fail gracefully.

The Unity editor shows the GameManager object selected with its components in the Inspector and an empty Game view below. — Sasquatch B Studios
Storing and resolving scene state
- Use unique IDs and ScriptableObjects for scenes to make renaming safe and lookups reliable.
- Place a small scene data script in each scene you want to support loading into.
- Keep a scene loader in your game manager to handle scene switching by ID, and show an error if a scene cannot be found.
Use async loading when scene order matters
If your loaded data needs a scene to finish initializing before it can be restored (such as enemies that spawn after the scene loads), switch to async save and load methods. Wait for the new scene to be loaded before running the rest of the load process. Use a completion event or signal tied to Unity's scene loaded event so you know when to resume.

Visual Studio displays a C# script with scene loading methods and a TaskCompletionSource line in the editor. — Sasquatch B Studios
using System.Threading.Tasks;
using UnityEngine;
using UnityEngine.SceneManagement;

public class SceneData : MonoBehaviour {
    [System.Serializable]
    public struct SceneSaveData {
        public string sceneID;
    }

    public async Task LoadSceneAsync(string id) {
        var loader = FindObjectOfType<SceneLoader>();
        int sceneIndex;
        if (loader.TryGetSceneIndex(id, out sceneIndex)) {
            await SceneManager.LoadSceneAsync(sceneIndex);
        }
    }

    public static Task WaitUntilSceneLoaded(int sceneIndex) {
        var tcs = new TaskCompletionSource<bool>();
        UnityAction<Scene, LoadSceneMode> handler = null;
        handler = (scene, mode) => {
            if (scene.buildIndex == sceneIndex) {
                SceneManager.sceneLoaded -= handler;
                tcs.SetResult(true);
            }
        };
        SceneManager.sceneLoaded += handler;
        return tcs.Task;
    }
}
Optional encryption for file save data
using System.Security.Cryptography;
using System.Text;

public static class EncryptionHelper {
    private static readonly byte[] key = Encoding.UTF8.GetBytes("32_byte_encryption_key_here__");

    public static string EncryptString(string plainText) {
        // Use AES encryption logic here
        // This is a placeholder, implement key and IV setup as needed
        return /* encrypted base64 string */;
    }

    public static string DecryptString(string cipherText) {
        // Use AES decryption logic here
        // This is a placeholder, implement key and IV setup as needed
        return /* decrypted plain text */;
    }
}
Replace plain text save and load in your SaveSystem with calls to these helpers as shown:
public static void Save() {
    string json = JsonUtility.ToJson(CurrentSave, true);
    string encrypted = EncryptionHelper.EncryptString(json);
    File.WriteAllText(SaveFileName(), encrypted);
}

public static void Load() {
    if (!File.Exists(SaveFileName())) return;
    string encrypted = File.ReadAllText(SaveFileName());
    string json = EncryptionHelper.DecryptString(encrypted);
    CurrentSave = JsonUtility.FromJson<SaveData>(json);
}
Also worth knowing
- Create missing files for first run: When there is no save file yet (on first run), ensure your load path gracefully creates a new file so that loading works the next time.
- Game manager and script execution order: The save/load pattern relies on a game manager being present and having control over script execution order. Set up your managers before wiring save and load.
- Wait for the scene before restoring state: When restoring data tied to scene-spawned objects, wait for the new scene to finish loading fully before applying your saved state.
- System-fit depends on existing managers: This workflow is easiest to implement when your game already has a similar manager and scene organization as described.
- For cloud storage, expand the system: This approach writes to local disk. If you want cloud saves, plan to replace the file read/write step with a call to a cloud storage service.
FAQ
Unity save and load tutorial
To set up saving and loading in Unity, create serializable data structs for each piece of state (player, currency, upgrades, enemies, scene), then bundle them in a top-level container. Use methods to write/read this container to disk as JSON. Each gameplay script handles saving and restoring its own data.
how to save game data in Unity
Save data by calling JsonUtility.ToJson() on your serializable container and writing the result to a file in Application.persistentDataPath. Restore by reading the file, deserializing, and calling each system's load logic.
Unity persistent player data
Persistent player data is data that survives quitting and restarting the game. Store it in serializable structs, save to persistent data path, and restore it at the start of a new session using matching load methods.
beginner save system in Unity
A beginner-friendly save system keeps each gameplay component's data in its own [System.Serializable] struct and uses helper save/load methods to read/write everything as JSON. Avoid complex formats and focus on making saves human-readable and predictable first.
Unity file serialization tutorial
File serialization in Unity involves turning a top-level data container into a string (with JsonUtility) and writing it to disk, then reversing the process on load. Use the built-in persistent data path so files work on all platforms that Unity supports.
Official reference: Unity manual.
Sources
Screenshots on this page are frames from the videos below, used to illustrate the steps they describe. All rights remain with their creators.
- EVERYTHING you need to know to SAVE and LOAD your game in Unity — Sasquatch B Studios, October 11, 2024