Create HUD prefabs for score and lives, feed them from your game state, and add them to your level setup so the interface displays and updates during play. For persistence, connect your game state to storage, read it in before creating the scene, and update it as play advances.
What to set up first
prerequisites
- Create a generic text prefab that extends Phaser's text class for your UI elements.
- Set up a score prefab by extending the text prefab.
- Build a separate lives prefab for tracking and displaying remaining lives.
- Keep HUD logic separate from non-interface game objects.

The editor shows the TextPrefab.js file with the generic text prefab class being defined. — Zenva
Build the score display
steps
- Extend the text prefab to make a score display prefab. This prefab should inherit from your generic text UI class.
- Implement the update method in your score prefab. This method should read the current score from the game state and update the displayed text.
- Format the HUD text so it includes a label and the dynamic score (for example,
"Fruits: " + score). - Initialize the score to zero in your game state before play starts.

A code editor displays the Score.js prefab file with the Score constructor and update method stub visible. — Zenva
// js/prefabs/Score.js
var FruitNinja = FruitNinja || {};

FruitNinja.Score = function(game_state, name, position, properties) {
    FruitNinja.TextPrefab.call(this, game_state, name, position, properties);
};

FruitNinja.Score.prototype = Object.create(FruitNinja.TextPrefab.prototype);
FruitNinja.Score.prototype.constructor = FruitNinja.Score;

FruitNinja.Score.prototype.update = function() {
    this.text = "Fruits: " + this.game_state.score;
};
Build the lives display
steps
- Create the lives prefab as an invisible prefab. In its constructor, loop through the life count to create a sprite for each remaining life.
- Read the number of lives from the prefab's properties (e.g.,
properties.lives). - Instantiate an array of sprites representing each life. For each, calculate its position using the base position plus an offset set by a spacing property.
- Store each sprite in a list, and add each to the HUD group so they display as icons spaced apart.

A code editor shows the Lives.js prefab constructor and prototype setup. — Zenva
// js/prefabs/Lives.js
var FruitNinja = FruitNinja || {};

FruitNinja.Lives = function(game_state, name, position, properties) {
    Phaser.Sprite.call(this, game_state, position.x, position.y, properties.texture);

    this.game_state = game_state;
    this.visible = false;

    this.lives = properties.lives;
    this.lives_sprites = [];

    for (var i = 0; i < this.lives; i++) {
        var life_position = {
            x: this.x + i * properties.life_spacing,
            y: this.y
        };
        var life_sprite = this.game_state.groups.hud.create(
            life_position.x, life_position.y, properties.texture
        );
        this.lives_sprites.push(life_sprite);
    }
};

FruitNinja.Lives.prototype = Object.create(Phaser.Sprite.prototype);
FruitNinja.Lives.prototype.constructor = FruitNinja.Lives;
Hook HUD updates into game state
steps
- Decrease the life count in your game state when the player loses a life.
- Remove the last life sprite by popping it from your lives sprite list and destroying or hiding the sprite.
- If no lives remain, trigger a game over handler in the game state.
- Restart game state after game over if your game flow requires it.

A code editor shows the Lives.js prefab logic with life sprite setup and the beginning of the die method. — Zenva
// Inside FruitNinja.Lives.prototype
FruitNinja.Lives.prototype.die = function() {
    this.lives -= 1;
    var last_life = this.lives_sprites.pop();
    last_life.kill();

    if (this.lives === 0) {
        this.game_state.game_over();
    }
};
Add the HUD to the level JSON
file tree
assets/levels/level1.json
├── groups
│   └── hud
├── prefab_classes
│   ├── score: "FruitNinja.Score"
│   └── lives: "FruitNinja.Lives"
├── prefabs
│   ├── score:
│   │    ├── type: "score"
│   │    ├── position: { "x": "0.05 * w", "y": "0.05 * h" }
│   │    ├── text: "Fruits:"
│   │    ├── style: { /* ... */ }
│   │    └── group: "hud"
│   └── lives:
│        ├── type: "lives"
│        ├── position: { "x": "0.95 * w", "y": "0.05 * h" }
│        ├── texture: "worldImage"
│        ├── group: "hud"
│        ├── lives: 3
│        └── life_spacing: 15
A JSON level configuration is open in the editor, with the hud group and score prefab entry visible. — Zenva
Check the running result

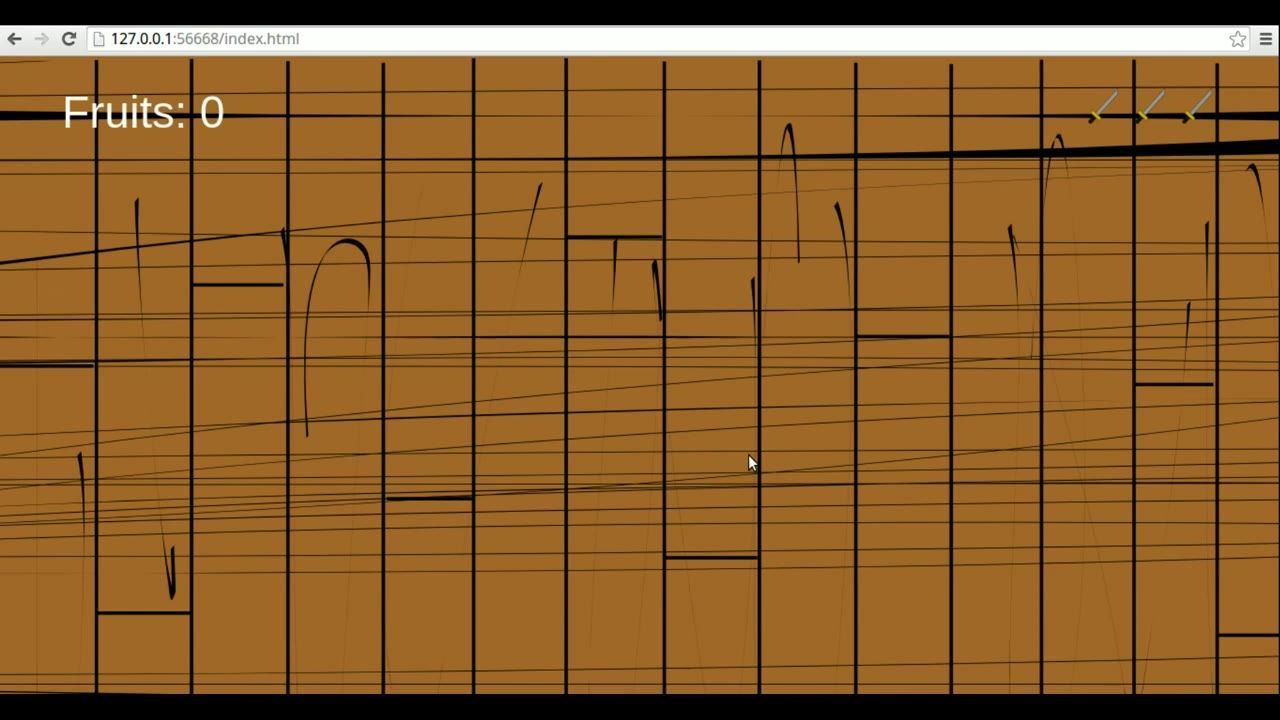
The game is running with the score display visible and small lives icons in the upper right. — Zenva
FAQ
how to build UI in Phaser
Create reusable prefabs based on Phaser's text and sprite classes for UI elements, then add them to the game scene through your level or state setup.
Phaser save progress to local storage
To save progress, write your game state (such as score and lives) into storage when key events happen, and restore it before creating your scene. The process is not demonstrated here, but connect the game state flow with browser storage to enable persistence.
Phaser HUD and score tutorial
Create HUD prefabs for score and lives. Update the score display in its update method by reading from game state, and show or remove life icons as the lives value changes.
Phaser pause menu tutorial
The pause menu is not part of this workflow. HUD elements and main game state flow are covered, but implementing a pause menu requires separate logic and UI prefabs.
Phaser main menu and settings
The main menu and settings systems are not shown here. Focus for this flow is on the in-game HUD, score, and lives, as well as saving and restoring game state.
Phaser scene transitions guide
Scene transitions occur by restarting the state or calling a transition method, such as after the lives reach zero. The details for elaborate scene transitions or effects are not illustrated, but restarting the game state when game over is shown.
Official reference: Phaser on GitHub.
Sources
Screenshots on this page are frames from the videos below, used to illustrate the steps they describe. All rights remain with their creators.
- Advanced Game Development with Phaser - Course Preview 5 - Game HUD — Zenva, May 26, 2016
Checked against:
- Releases · phaserjs/phaser — GitHub