Set up collision groups in Roblox Studio, assign your workspace parts to the right group.
Start with the collision setup in the workspace
Set up separate collision groups so different objects in your scene can interact or pass through each other as intended. This will define how the player character and parts collide.

Roblox Studio shows the Collision Groups Editor with the Default group listed beside the workspace. — PlaasBoer
steps
- Open the Collision Groups Editor in Roblox Studio to view and manage collision groups.
- Create a new group for each set of parts that should have unique collision behavior.
- Assign the intended workspace parts to their respective group using the editor.
- Adjust the group settings to control which groups will collide and which will ignore each other.
Check how collision groups affect player movement

Roblox Studio shows the Collision Groups Editor and a Play window with red and green spheres beside white ramp-like parts on a gray baseplate. — PlaasBoer
Add a Lua script for character movement
Scripts let you create or control movement beyond the default controls in Roblox Studio.

Roblox Studio displays the workspace beside the Explorer panel with the object hierarchy expanded. — PlaasBoer
steps
-- Example Roblox Lua movement script
local player = game.Players.LocalPlayer
local character = player.Character or player.CharacterAdded:Wait()
local humanoid = character:WaitForChild("Humanoid")

-- Move the character forward on command
function onMoveForward()
    humanoid:Move(Vector3.new(0, 0, -1), false)
end

-- Connect to an input event for actual movement (optional)
-- Example: Bind to a UI button or use ContextActionService for real input
Use touch events and physics to react to contact
You can connect behaviors to physical contact between the player character and world objects using Roblox events tied to parts.
steps
Script around the humanoid and server script flow

Roblox Studio shows a script open beside the Explorer panel with ServerScriptService expanded. — PlaasBoer
Choose where your movement and collision scripts run
Verify the finished movement and collision result in game

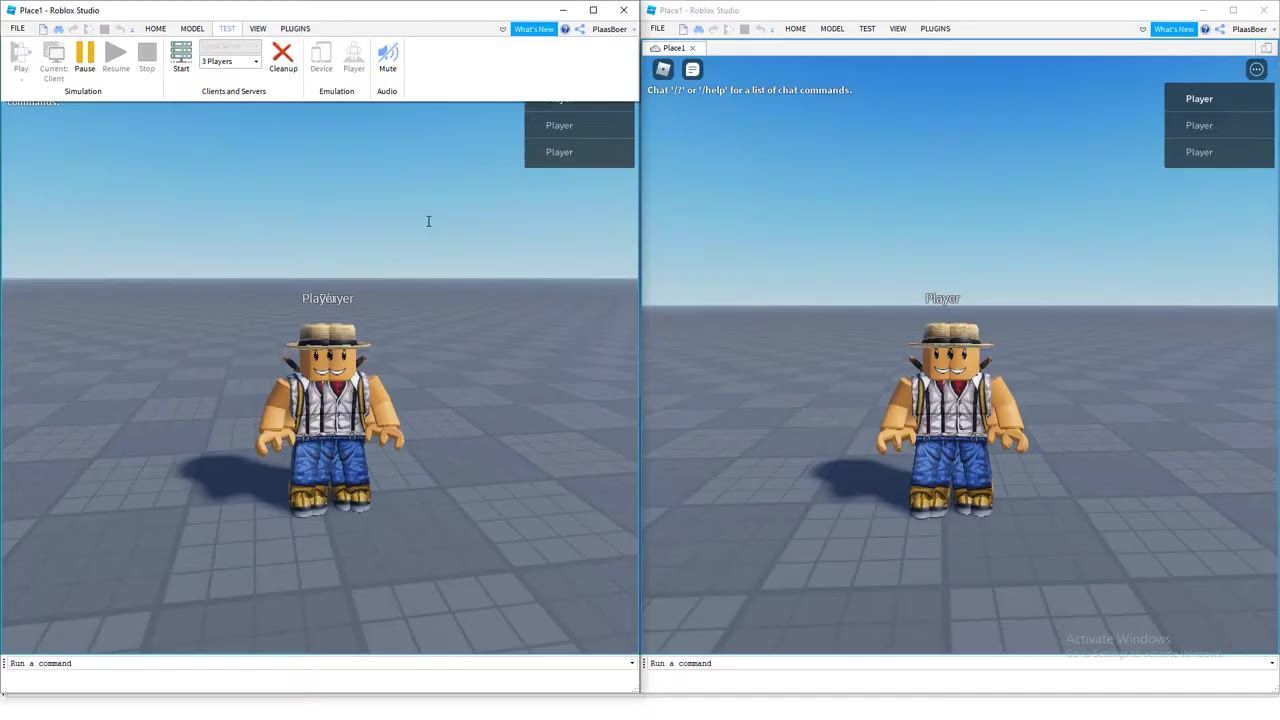
Two Roblox Studio play views show a character standing on a tiled plane with visible overlapping movement and collision results. — PlaasBoer
FAQ
how to script movement in Roblox Studio
Create a Lua script that references the character or humanoid, and place your movement logic in it. Attach the script so it runs automatically in Play mode, and test it in the live game window to confirm it works.
Roblox Studio collision tutorial
Set up collision groups in the workspace, assign parts to those groups, and adjust which groups collide with each other. Test your configuration by running the game to see how player and parts interact.
Roblox Lua beginner movement guide
Start with a basic Lua script placed in the game, get a reference to the humanoid, and use scripting methods to move the player. Confirm the movement by playing the game and watching the effect.
Roblox character controller tutorial
Roblox Studio physics and collisions
Physics and collision in Roblox Studio are handled by the engine as defined by your group settings and part assignments. Correct setup is confirmed when, in Play mode, objects interact physically as you expect.
Roblox Studio scripting basics
Official reference: Roblox Creator documentation.
Sources
Screenshots on this page are frames from the videos below, used to illustrate the steps they describe. All rights remain with their creators.
- How to disable player collisions - Roblox (Controlling Collisions Tutorial) — PlaasBoer, May 25, 2021
Checked against:
- https://create.roblox.com/docs/release-notes — create.roblox.com