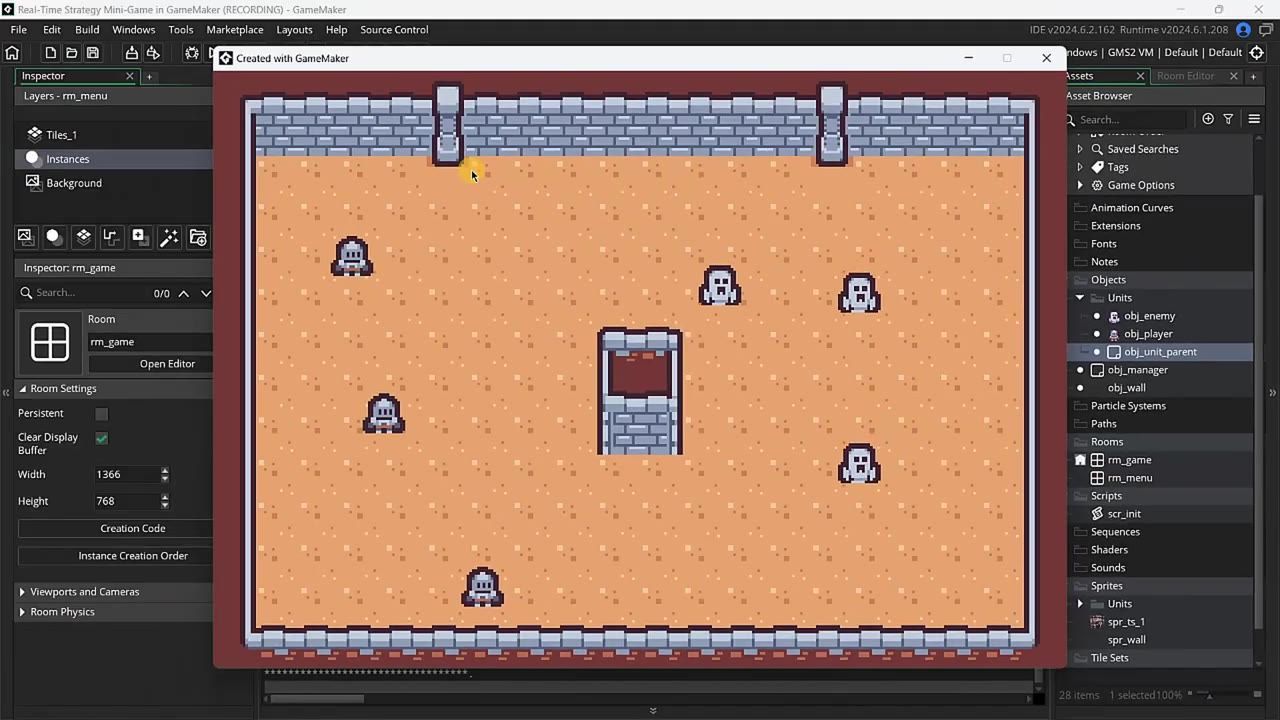
Build a grid-based pathfinding system in GameMaker by creating a manager for global variables, setting up wall objects as grid-aligned obstacles, and assigning enemy AI routines to recalculate paths toward the nearest player. To ensure clean movement, use centered sprites, a 16×16 cell grid, and stop enemy units before they overlap the player.
Set up the room, units, and centered sprites
steps
- Rename the starter room to RM_menu, then duplicate it as RM_game so you have both a menu and a gameplay room.
- In the Sprites folder, create a units group and add separate spr_player and spr_enemy sprites.
- In the Objects folder, create a units group and add obj_player and obj_enemy objects.
- Assign each sprite to its corresponding object.
- Edit both unit sprites and set their origins to the center for easier movement and path calculations.
- Switch to the RM_game room, select the instances layer, and drag player and enemy instances into the room.

The room workspace is open while the project tree shows a units folder under Sprites. — Zenva

The room editor shows a room layout with layers listed on the left and object instances placed in the room view. — Zenva
Create the manager object and the init script
prerequisites
- GameMaker Studio 2 installed and open.
- A project with at least RM_game, player, and enemy objects.
- Familiarity with GML for scripting events and custom scripts.
Create a manager object called obj_manager by making a new object with no sprite attached. Add a Create event, then initialize global variables such as frame rate, units margin, game over status, viewport width/height, path, and grid. Place the manager in the room so it can access the room and viewport after they load.
Declare global variables that do not depend on room or viewport in an initialization script (e.g., scr_init). For variables that require room or viewport data (room width, height, viewport width, height, grid, or path assignment), use the manager's Create event. This prevents initialization errors, as scripts run before the room and its objects exist.
Build the wall objects and tile-sized obstacles
steps
- Create spr_wall and obj_wall for obstacles.
- Resize the wall sprite to match your tile size—set it to 16 by 16 pixels in the sprite properties.

The sprite resize dialog for spr_wall is open with width and height settings visible. — Zenva
- Make the wall sprite empty so wall instances are invisible, ensuring players see clean obstacles rather than colored blocks.
- Create a new walls layer in the room and place wall instances aligned with the grid.
- Use the grid setting of 16 by 16 to match wall placement with cell size, making collision detection accurate and editing easier.
Create the unit parent for enemy AI and navigation
file tree
**Object hierarchy**
- **obj_unit_parent**
  - Children:
    - **obj_player** (with `is_player = true`)
    - **obj_enemy** (with `is_player = false`)
Both player and enemy inherit from obj_unit_parent. Define shared variables such as velocity and target enemy in the parent. Use a boolean is_player in variable definitions to distinguish player from enemy. Inherit movement parameters and override velocity in the enemy child to make it slower.

The obj_unit_parent editor shows its children list and variable definitions while a new variable name is being typed. — Zenva
Add a shared movement function to the parent to handle path-based movement, receiving object coordinates, target coordinates, and speed.
Add grid-based routing and obstacle avoidance
steps
- Create a grid that begins at the top-left (0,0) of the room and covers its full area.
- Use 16-by-16 cells to match the tile and wall layout.
- Add wall instances to the grid as obstacles, so blocked cells cannot be traversed by units.
- In the movement function, create a path from the current unit to the target using the grid, with wall objects as blockages.
- Allow diagonal movement while building the route.
- When the path reaches completion, stop movement (not overlap).

A GameMaker Studio 2 code editor is open with a Create event script and an mp_grid_add_instances call inside a function. — Zenva
// Example of adding wall instances as obstacles and creating a path
mp_grid_add_instances(global.grid, obj_wall, true);

global.path = path_add();
mp_grid_path(global.grid, global.path,
    object_x, object_y, target_x, target_y,
    true); // allow diagonal

// Move the unit along the path
move_path(global.path, speed, path_action_stop, true);
Keep enemy AI from overlapping the player
Also worth knowing
None.
FAQ
GameMaker pathfinding AI tutorial
Start by organizing your room, units, and wall obstacles. Add a manager for shared variables. Enemy pathfinding is coded in the parent object, using grid-based routing and collision checks to avoid walls and chase the player.
how to use grid pathfinding in GameMaker
Create a grid that matches your room's tile size. Register wall objects as obstacles, then use pathfinding methods to build routes for enemy units toward the player, allowing diagonal movement and updating as the player moves.
GameMaker obstacle avoidance tutorial
Obstacle avoidance is handled by marking wall instances as blocked cells in the grid. The pathfinding system detects these cells and builds routes around them whenever enemy AI moves toward player targets.
enemy navigation around walls in GameMaker
Enemy navigation combines grid-based routing with wall objects. Enemies recalculate their paths, taking obstacle cells into account, and move around walls to approach the player, stopping before overlapping.
pathfinding system for GameMaker Studio 2
Set up a manager for globals, align all sprites to the grid (16×16), create invisible wall objects, and code enemy AI routines that build and follow a grid path toward the nearest player, avoiding obstacles and enforcing a stopping margin.
Official reference: GameMaker manual.
Sources
Screenshots on this page are frames from the videos below, used to illustrate the steps they describe. All rights remain with their creators.
- GameMaker PATHFINDING AI Tutorial — Zenva, November 27, 2024
Checked against:
- Read The Latest News & Interviews | GameMaker Blog — gamemaker.io