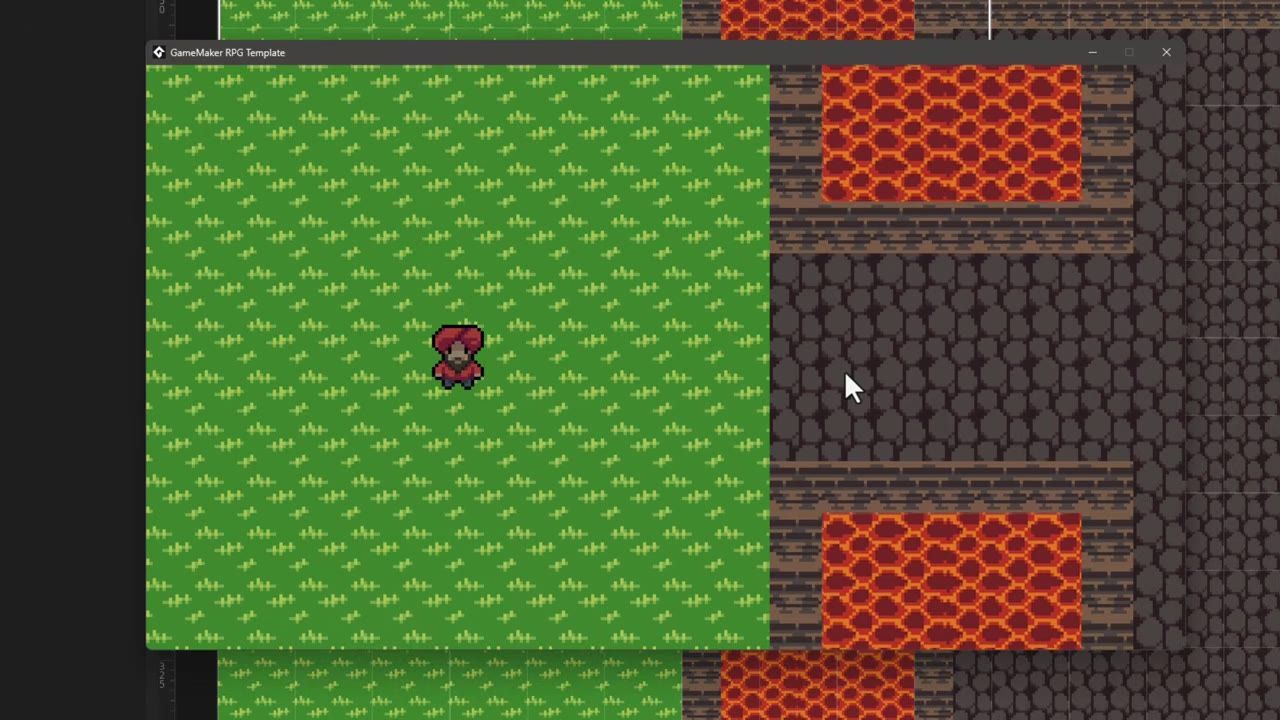
Start by making the room, player object, and tile-based collision layers, then code animated player movement in the Step event. Next, create a parent enemy object with variables and logic for target selection, random roaming, following the player, collision with walls and other enemies, and depth sorting by vertical position.
Set up the RPG room and project structure
First, open GameMaker and create a new project using the RPG Tutorial template. Name your project in the new project window.

The RPG Tutorial template is selected in the new project screen, with the project name field visible. — GameMaker

The Asset Browser is open with Objects highlighted in the Create Asset menu, and a pixel-art character is visible in the editor. — GameMaker
To build your level:
- Open the tile set folder and create a tile set using the provided tile set sprite.
- The default tile size is used.
Open the default room in the Room Editor:
- Set your background layer to the lava sprite.
- Enable horizontal and vertical tiling on the background. Enter a low speed value (such as 0.05) in both axes for subtle movement.
Next, add two new tile layers:
- tiles_back (for background grass and cave tiles),
- tiles_col (for wall collision).
Design the walkable and blocked areas using the tile set tiles. Place collision tiles around the level edges and any walls or obstacles.

The room editor shows the Background layer selected while the sprite picker displays the lava sprite and other asset options. — GameMaker
Finally:
- Select the Instances layer and place obj_player in the room where you want the player to start.
file tree
Project Root
├── Sprites/
│   └── Player Sprites (idle, walk, 4 directions)
│   └── Enemy Sprites
│   └── Lava Sprite
│   └── Tile Set Sprite
├── Objects/
│   └── obj_player
│   └── obj_enemy_parent
│   └── obj_enemy_1
├── Tile Sets/
│   └── Main tile set
├── Rooms/
│   └── Main room (with background, tiles_back, tiles_col, and instances layers)
Add top-down movement and animation to the player
Add two events to obj_player: Create and Step.

The obj_player editor is open in GameMaker with no event code shown. — GameMaker
Build enemy behavior with a parent object
Set up a parent enemy object to share movement and targeting code.

The obj_enemy_parent object editor is open with the Inspector panel visible on the left. — GameMaker
Make enemies roam, follow the player, and avoid stacking
before after
Before
// Enemy movement: only collide with walls
move_and_collide(
    h * move_speed,
    v * move_speed,
    tilemap
);
After
// Enemy movement: collide with walls AND other enemies
move_and_collide(
    h * move_speed,
    v * move_speed,
    [tilemap, obj_enemy_parent]
);
Sort draw order by vertical position
Add an End Step event to the player object to keep the draw order visually correct, so lower objects are drawn in front of higher ones.

The player object editor shows the Step event code and an empty End Step event. — GameMaker
Also worth knowing
FAQ
GameMaker first RPG movement and enemies tutorial
Create your RPG structure by starting with a player object with movement and animation, then add a parent enemy object so all enemy types inherit behavior. Use tilemap collision for walls and keep all instances organized in the asset browser with clear layer setup.
how to add enemies to a GameMaker RPG
Add a parent enemy object, then create specific enemy types as children. Assign each a sprite, set values for HP, damage, and movement stats in the Inspector, give them targeting logic, and place them in the room. Make sure their movement collides with walls and other enemies.
GameMaker RPG project structure
The recommended structure includes separate folders for Sprites, Objects, Tile Sets, and Rooms. Each object and tile set is organized by type, with enemies using a parent/child hierarchy and carefully named instances and layers for easy referencing and management.
beginner GameMaker enemy behavior tutorial
Give the parent enemy object logic for both random roaming and following the player within a certain range. Call retargeting code in an Alarm event, and move each frame toward the target, clamping movement speed and handling collisions against both walls and other enemies.
GameMaker top-down RPG workflow
Begin by setting up your room and asset organization, then code player movement and animation with collision checks. Use a parent object for enemies, and sort depth after moving all instances. This workflow keeps your project organized and easily extendable as your game grows.
Official reference: GameMaker manual.
Sources
Screenshots on this page are frames from the videos below, used to illustrate the steps they describe. All rights remain with their creators.
- Make Your First RPG | Movement & Enemies — GameMaker, January 6, 2025
Checked against:
- Read The Latest News & Interviews | GameMaker Blog — gamemaker.io