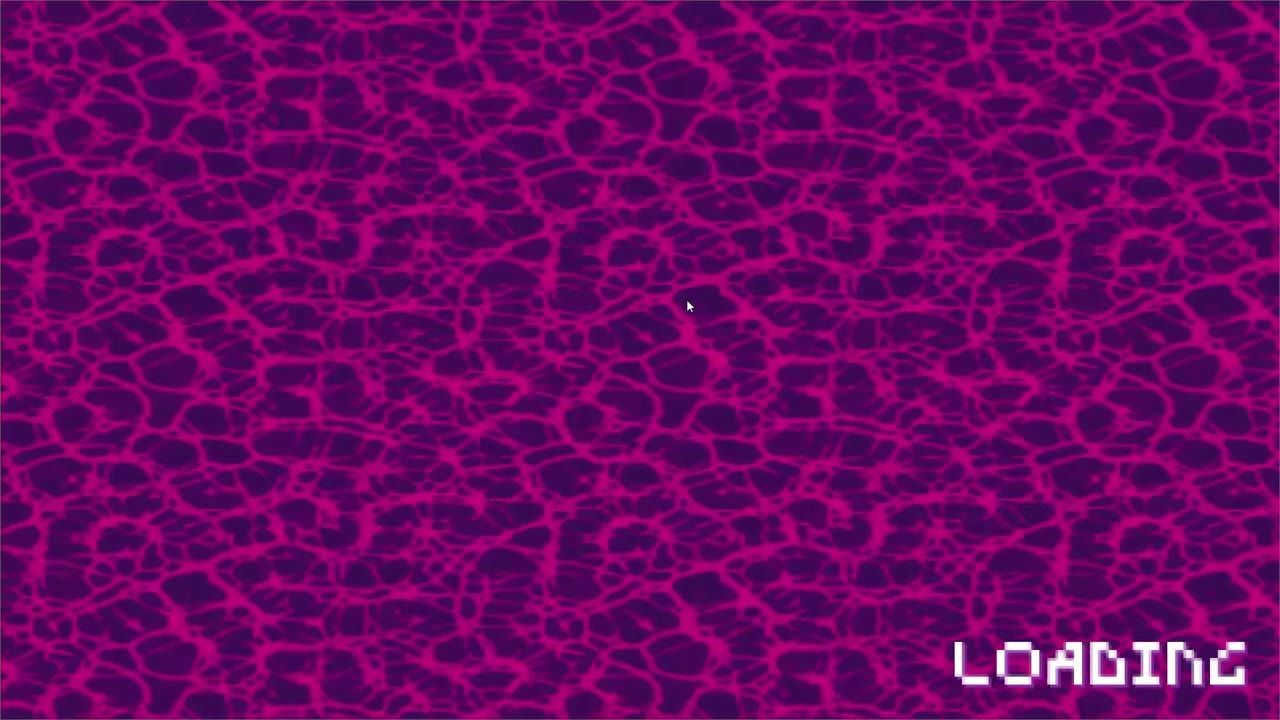
To build a shader-driven scene transition in Godot, create a new CanvasLayer overlay with a custom ShaderMaterial using two blended noise textures. Preload and instance this screen from your manager script during level loading. After the transition completes, queue_free the transition scene so the new scene can take over smoothly.
Set up the scene transition screen
steps
Open your Godot project and create a new scene with a CanvasLayer as the root node.
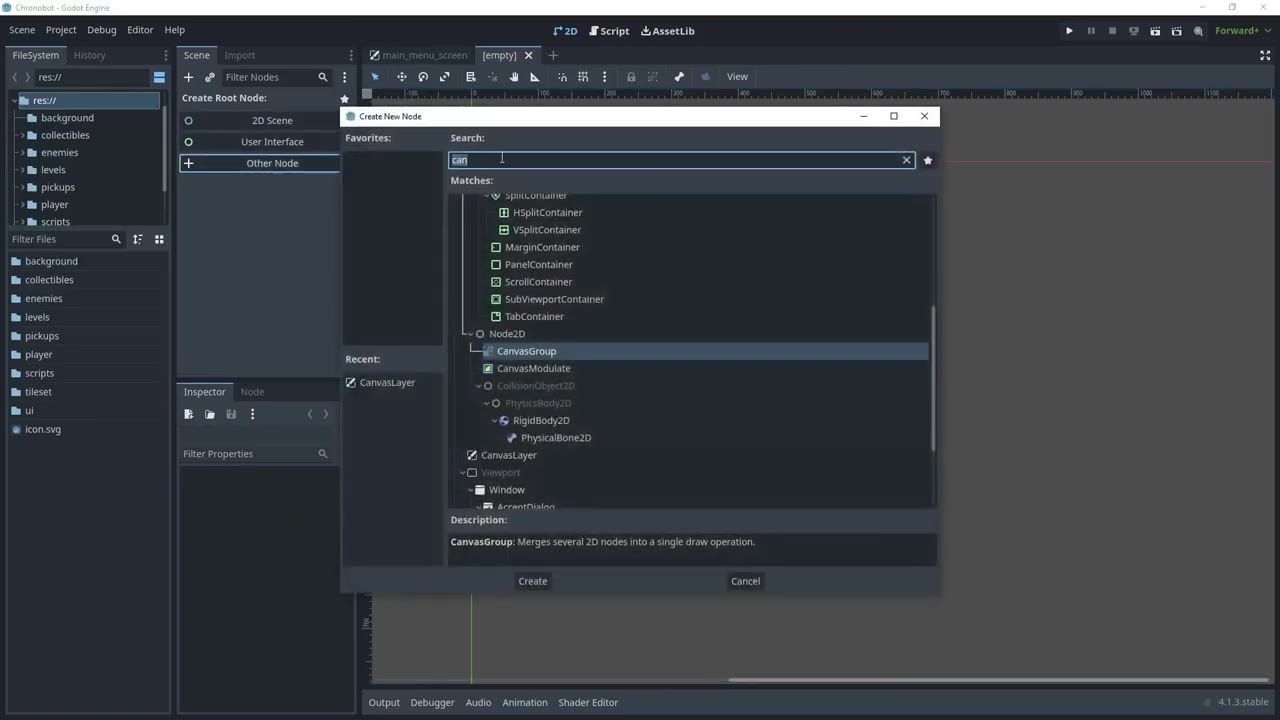
The Godot editor shows a new scene being created with the Create New Node dialog open and CanvasLayer visible. — Rapid Vectors
Rename the CanvasLayer node to something like scene_transition_screen.
Add a TextureRect node as a child of the CanvasLayer.
Set the TextureRect’s anchor to Full Rect.
Create and assign a new CanvasTexture to the TextureRect's Texture property.

Add the noise textures for the shader effect
steps
Download a noise texture pack (see references if needed) and unzip the contents.
Import two textures into your screen_transition folder: one from a cracks subfolder (e.g., cracks_02), and one from the craters or similar dissolve folder (e.g., crater_04).
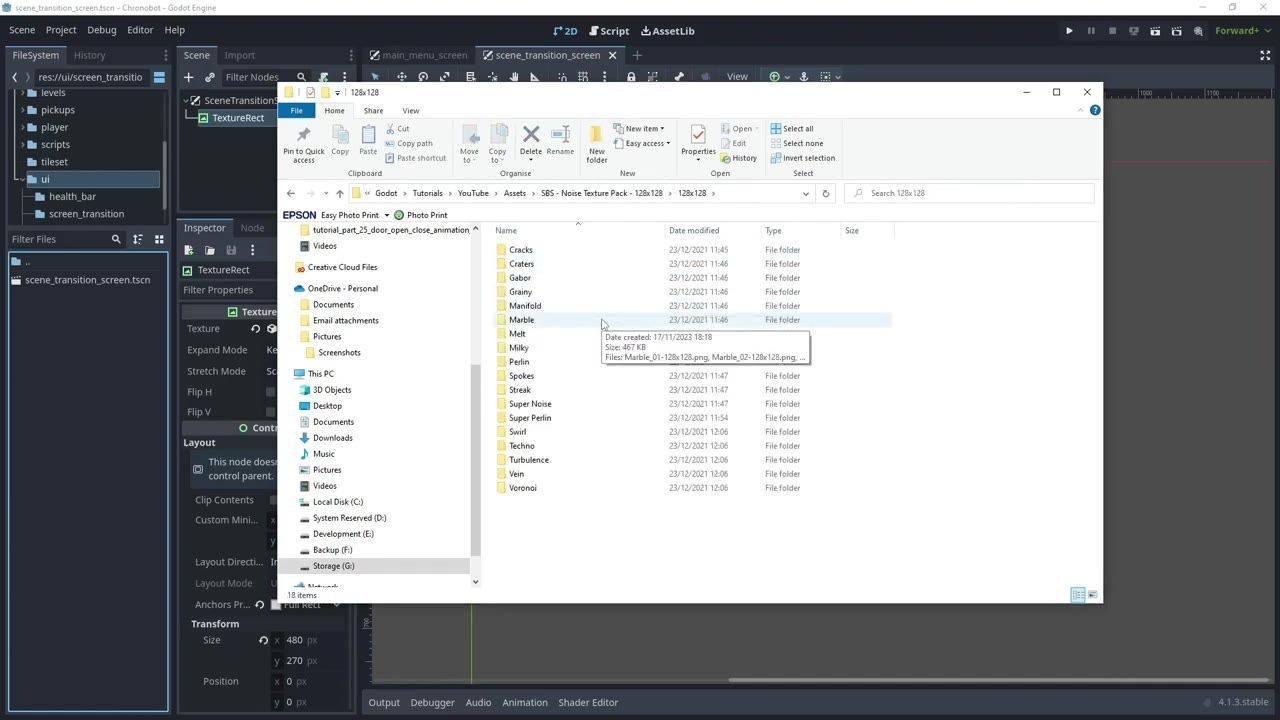
A file browser is open to a noise texture pack folder with multiple texture subfolders listed. — Rapid Vectors

Build the shader effect
steps
In the Inspector for the TextureRect, scroll to the Material section and create a new ShaderMaterial.
For the ShaderMaterial, choose to write your shader in code (not the visual shader option).
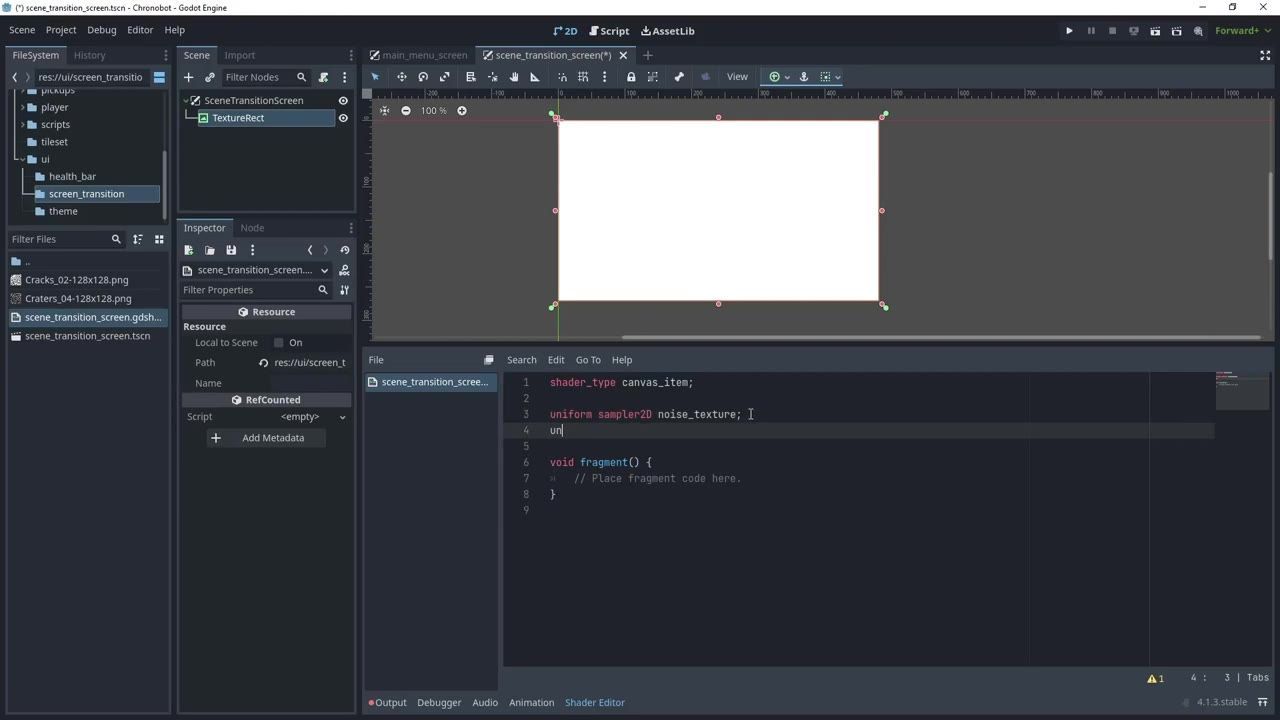
The shader script editor is open with shader code visible and a uniform texture parameter being added. — Rapid Vectors
Double-click to open the shader editor. Set the shader type to
canvas_item.Add uniform parameters for your imported noise textures, two colors, tiling, move speed, and subtraction speed.
Sample both noise textures in the fragment function and combine them using a subtraction to create the dissolve effect.
Animate the noise by modifying the UV with tiling and time-based motion.
Mix two colors together in the final output using your blended noise to interpolate between them.

Example shader structure:
shader_type canvas_item;

uniform sampler2D noise_texture;
uniform sampler2D dissolve_noise_texture;
uniform vec4 color1 : source_color = vec4(0.0, 0.0, 0.0, 1.0);
uniform vec4 color2 : source_color = vec4(0.8, 0.5, 0.5, 1.0);
uniform float tiling_factor : hint_range(1.0, 10.0) = 1.0;
uniform float move_speed : hint_range(0.1, 5.0) = 0.1;
uniform float subtraction_speed : hint_range(0.1, 5.0) = 1.0;

void fragment() {
    vec2 uv = FRAGCOORD.xy / SCREEN_PIXEL_SIZE.xy;
    uv *= tiling_factor;
    uv = fract(uv);
    uv.y += TIME * move_speed;

    float noise_val = texture(noise_texture, uv).r;
    float dissolve_val = texture(dissolve_noise_texture, uv).r;

    float subtraction_factor = sin(TIME * subtraction_speed);
    float final_val = noise_val - dissolve_val * subtraction_factor;
    COLOR = mix(color1, color2, final_val);
}- Assign your imported cracks image to noise_texture and the dissolve image to dissolve_noise_texture in the ShaderMaterial parameters.
- Tweak color, tiling, move speed, and subtraction speed as needed.
Style the loading text and UI polish
Test the transition screen in the editor
steps
Open the scene transition screen in the Godot editor and click Play to preview it.
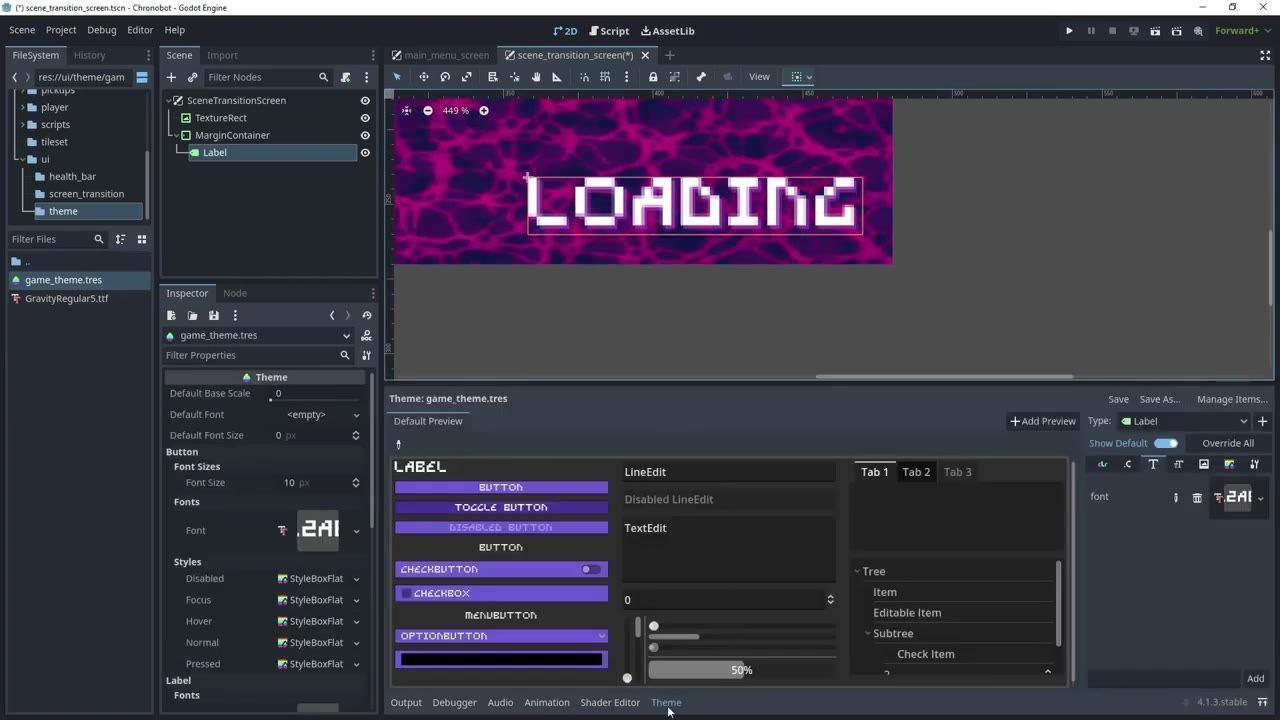
The scene transition screen preview is open in the editor with the loading text visible. — Rapid Vectors
Adjust the tiling, move speed, and subtraction speed shader parameters from the Inspector to tune the animation.
Edit the color parameters as needed to match your game’s look.

Trigger the overlay from your scene manager
steps
In your scene manager script, instance the transition and add it to the scene tree’s root:
var transition = TransitionScreen.instantiate()
get_tree().root.add_child(transition)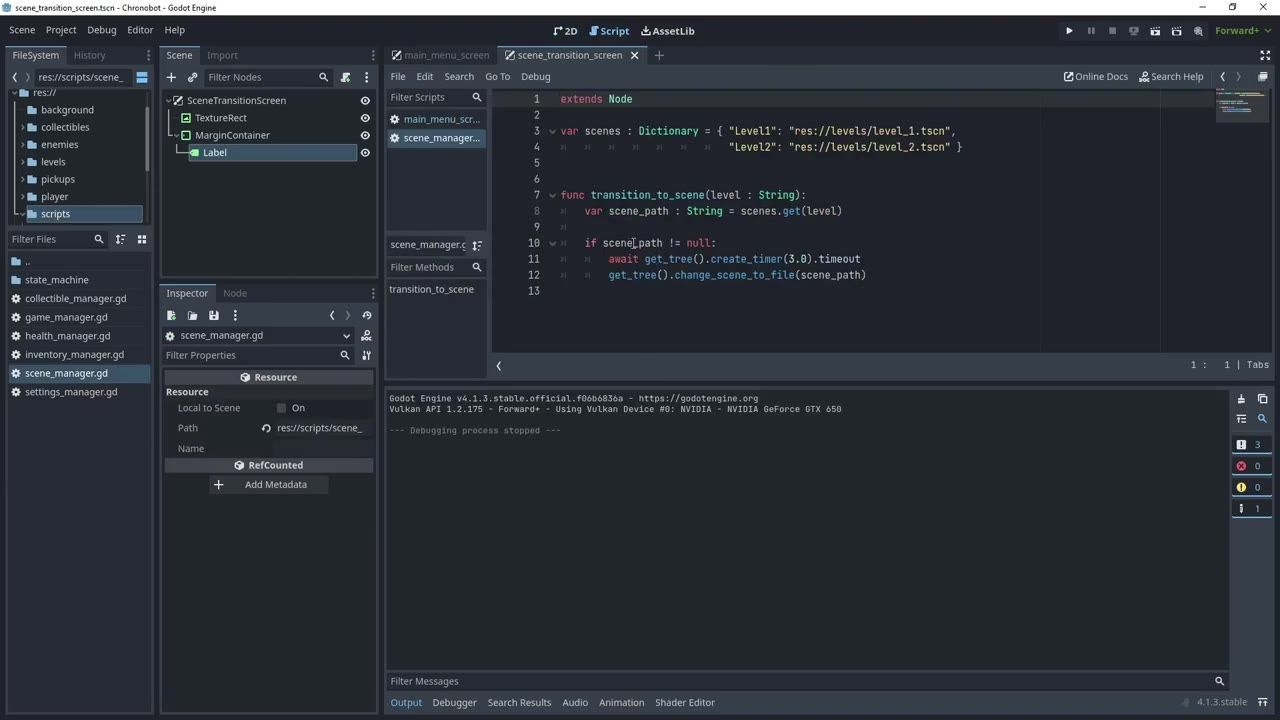
The scene manager script is open in the Godot script editor, with scene transition logic visible in the code pane. — Rapid Vectors
Wait for the desired duration (e.g., yield or await with a timer) so the effect is visible before switching scenes.
After switching, call
queue_free()on the transition overlay to remove it:transition.queue_free()

Use the effect during level changes
FAQ
Godot shader loading screen tutorial
Create a new CanvasLayer scene, add a TextureRect with a ShaderMaterial that blends two noise textures, and overlay this as a loading screen during scene changes.
how to make scene transitions in Godot 4
Set up a CanvasLayer-based transition screen with a custom shader. Preload and instance it from your scene manager, wait during the transition, and remove it after changing levels for polished scene transitions.
loading screen effects for Godot games
Use a ShaderMaterial with noise-based animation for your loading overlay. Combine colors and textures in code to create dynamic, animated effects that play between gameplay scenes.
shader-based transition in Godot
A shader-based transition uses a CanvasItem shader to blend and animate noise textures, controlling tiling, motion, and color blends in the pixel output, creating visually smooth scene transitions.
Godot scene change polish tutorial
To add polish to scene changes, overlay a transition screen with animated shader effects and custom UI text, and manage it from your scene changer to fade in and out seamlessly.
Sources
Official reference: Godot documentation.
Sources
Screenshots on this page are frames from the videos below, used to illustrate the steps they describe. All rights remain with their creators.
- Game Shader VFX Loading Screen and Scene Transition: Godot 4 Tutorial - Pt 26 - 2D Platform Game — Rapid Vectors, November 23, 2023
Checked against:
- Godot Engine - Blog – Godot Engine — Godot Engine