To add a 2D CRT or VHS shader in Godot, set up a CanvasLayer with a ColorRect that covers the screen, assign a ShaderMaterial to it, paste the effect's shader code, and add the required screen texture uniform if prompted. Finally, resize the ColorRect to fit your viewport and tweak the shader parameters until the look matches your needs.
What you need on the scene tree
prerequisites
- CanvasLayer: Add this node to your main scene to ensure your effect displays above your game content.
- ColorRect: Place this as a child of CanvasLayer to serve as the target for the shader effect.
- Coverage: Make sure the ColorRect is ready to cover the entire game view or camera area so the effect applies everywhere you want.

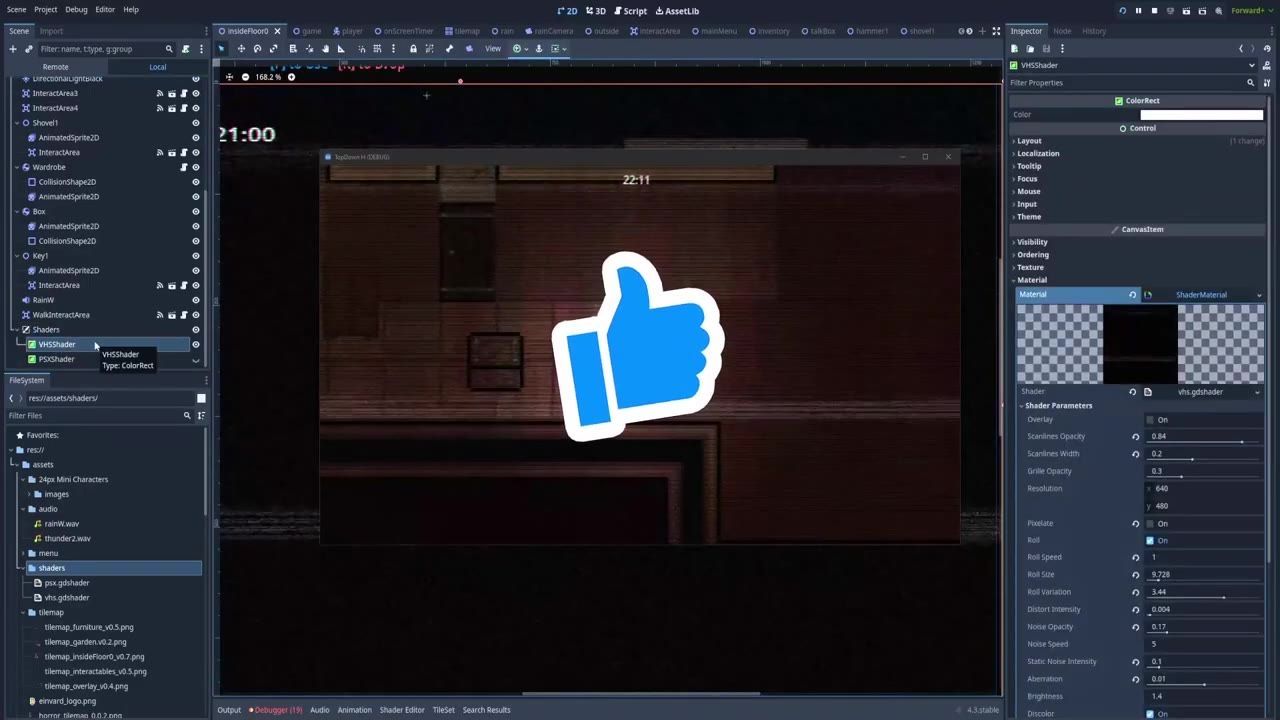
The Godot editor shows a scene tree on the left, a 2D game view in the middle, and shader settings in the Inspector on the right. — Godot Knowledge Hub
Create the shader resource and assign it to the material
steps
- Create a new Shader resource: In your file system panel, right-click inside your desired folder and choose to create a new Shader resource.
- Name the resource: Give it a memorable name, such as "VHS_2", so you can find it later.
- Assign the shader to the ColorRect: Drag your shader resource into the empty material slot of the ColorRect node in the Inspector.
- Open the shader code editor: Double-click the shader resource to open its script area, then paste the shader code you want to use.

The Godot editor shows the Create New Resource dialog with Shader available to create, alongside the file browser and inspector panels. — Godot Knowledge Hub

The Godot editor shows the Inspector for a ColorRect with the Material section visible and a shader resource selected in the project files. — Godot Knowledge Hub
Fix the screen texture error
If Godot complains about a missing screen texture uniform when you paste the shader, add the required line near your uniform declarations.
before after
Before
// Uniform declarations...
// (Missing required screen texture uniform)
After
// Uniform declarations...
uniform sampler2D screen_texture : hint_screen_texture, filter_linear_mipmap;
// (Now the shader should accept the screen texture)
The Godot shader code editor is open with an error message about SCREEN_TEXTURE and the script visible below the scene view. — Godot Knowledge Hub
Resize the effect to cover the view

Godot editor shows a large black ColorRect covering most of the game view in the running scene. — Godot Knowledge Hub
Tweak the shader parameters for the final look
steps
- Locate Shader Parameters: In the Inspector, select your ColorRect and find the shader material. The parameters exposed by the shader will be listed there.
- Adjust effect values: Change the settings to increase or decrease visual features such as scanlines, color distortion, or glitching as needed.
- Preview in scene: Keep testing these changes with your scene running until you are happy with the appearance.

The Inspector displays the selected material with Shader Parameters visible on the right. — Godot Knowledge Hub
Also worth knowing
- Shader error workaround: If you get an error about screen textures, insert the screen texture sampler uniform at the top of your shader code to resolve it.
FAQ
Godot 4 shader tutorial for 2D games
To use this shader in a 2D game, set up a CanvasLayer and ColorRect, then assign the effect shader as described. This overlays the visual effect above your game's content.
How to make a CRT shader in Godot
Copy a CRT-style shader code, create a Shader resource, assign it to your ColorRect's material, add the required screen texture uniform if needed, and adjust parameters to match the CRT look.
Godot shader tutorial for beginners
This approach is friendly for beginners: set up the right nodes, create a Shader resource, paste existing shader code, fix any uniform errors, and change settings in the Inspector.
2D visual effects in Godot 4
Adding visual effect shaders in Godot 4 involves layering a ColorRect above your scene, using a ShaderMaterial, and configuring GLSL shader code to affect the pixels underneath.
Godot shader guide for game polish
Applying a VHS or CRT shader with this method is a quick way to add polish and atmosphere to your game, enhancing mood and visual style without changing gameplay or UI logic.
Official reference: Godot documentation.
Sources
Screenshots on this page are frames from the videos below, used to illustrate the steps they describe. All rights remain with their creators.
- How to achieve VHS effect in Godot (CRT shader) — Godot Knowledge Hub, February 21, 2025
Checked against:
- Godot Engine - Blog – Godot Engine — Godot Engine