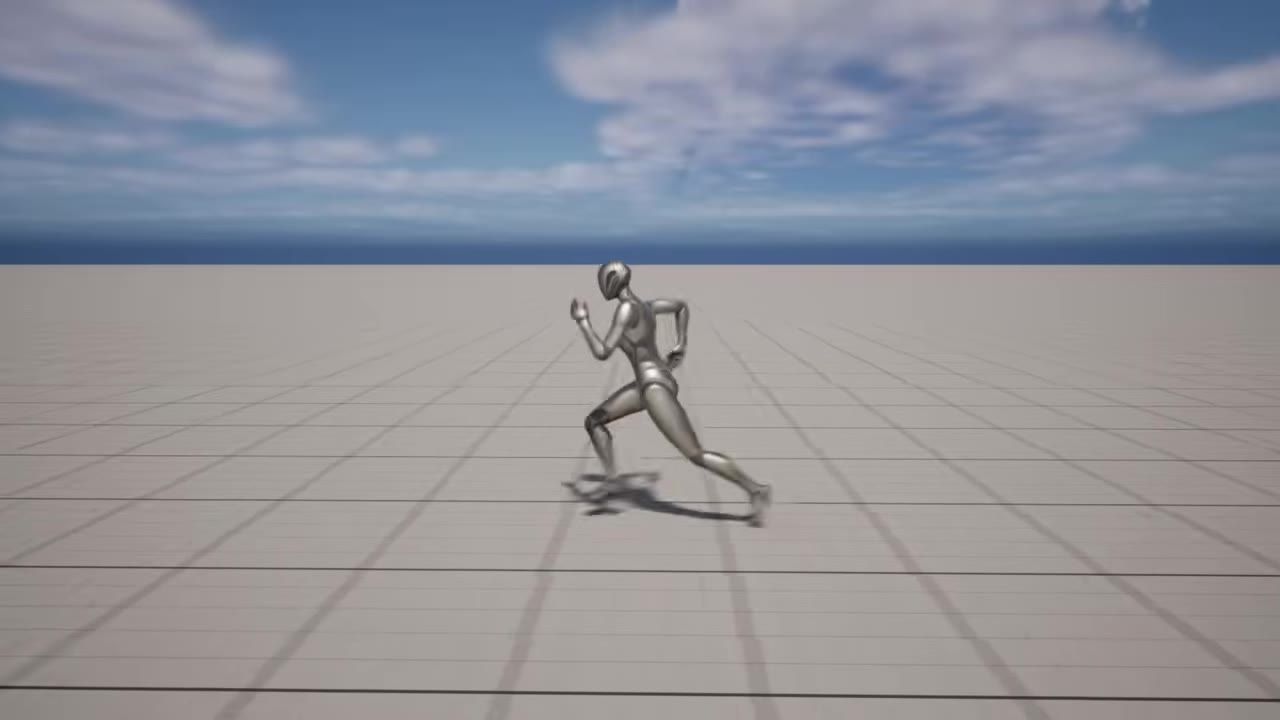
To set up a working third-person character in Unreal Engine, create input actions and an input mapping context, then build the controller, character, and game mode Blueprints. Assign everything in Project Settings, put a Player Start in the level, and press Play to test camera and movement with animations.
Project Setup
To get started, create organizational folders and the input assets required for controlling the character.
prerequisites
- Unreal Engine 5 installed and running.
- Project open in Unreal Editor.
- Content Browser visible.
- Basic familiarity with creating assets in Unreal.
Make a new folder named inputs. Inside it, right-click and add three input actions:
- move forward (1D Axis)
- move right (1D Axis)
- look (2D Axis)

The Unreal Engine Content Browser is open with the Tutorial folder selected in the project content tree. — H2 Unreal
Input Mapping Context
Bind keyboard and mouse actions to drive the character:
:::steps
- Right-click in the inputs folder and add an input mapping context (name it appropriately).
- Add the move forward input; bind it to the W key, then add the S key with a Negate modifier (so pressing S moves backward).
- Add move right; bind to D and A, with a Negate modifier on A.
- Add the look input action and bind it to Mouse XY 2D Axis. Add a Negate modifier, then disable it on the X and Z axes so traditional third-person camera look works.

The input mapping context editor shows the IA_MoveForward action bound to W. — H2 Unreal
Blueprints
Set up the player controller, character, and required Blueprint logic:
steps
Create a blueprints folder.
Right-click, choose Blueprint Class > Player Controller, and name it for your project.
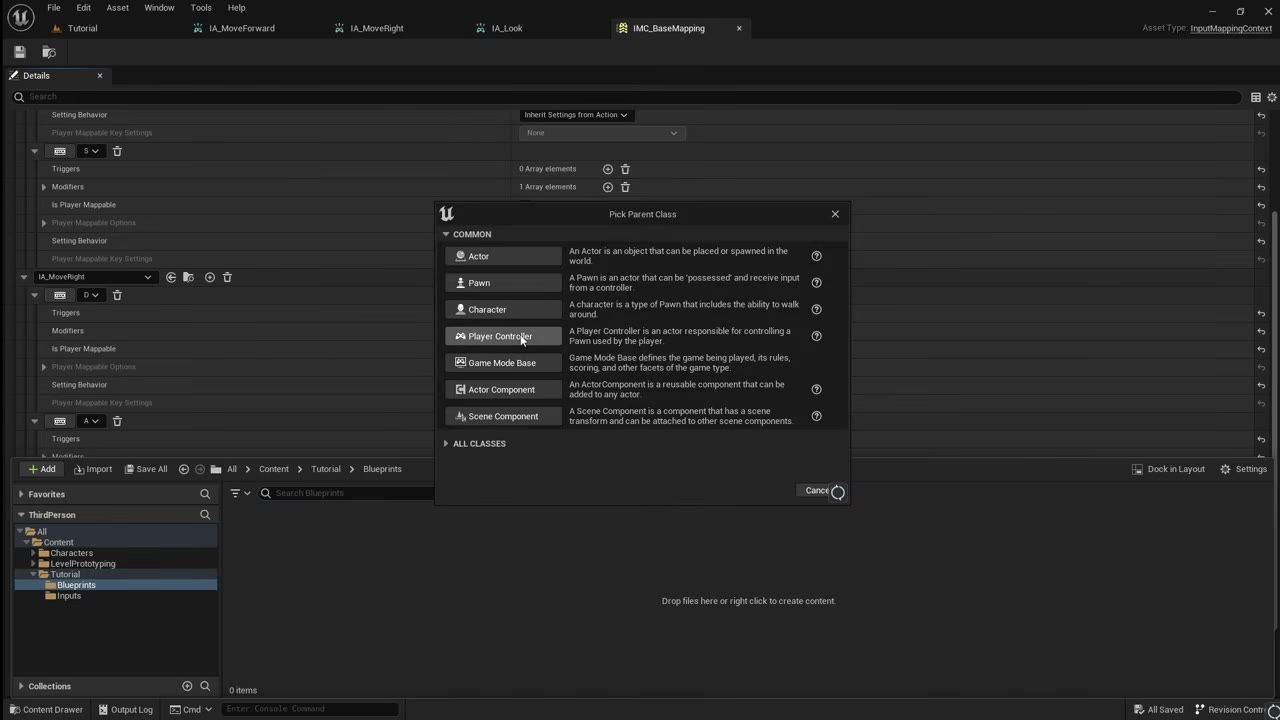
The Content Browser is open and the Pick Parent Class dialog shows Player Controller as an option. — H2 Unreal
Open the controller Blueprint's Event Graph. Add logic to register the mapping context on Begin Play:
- Get the Enhanced Input Local Player Subsystem.
- Confirm it is valid.
- Add the mapping context created earlier.
Create a Character Blueprint. Assign your chosen Skeletal Mesh and orient it upright with feet at the bottom of the capsule.
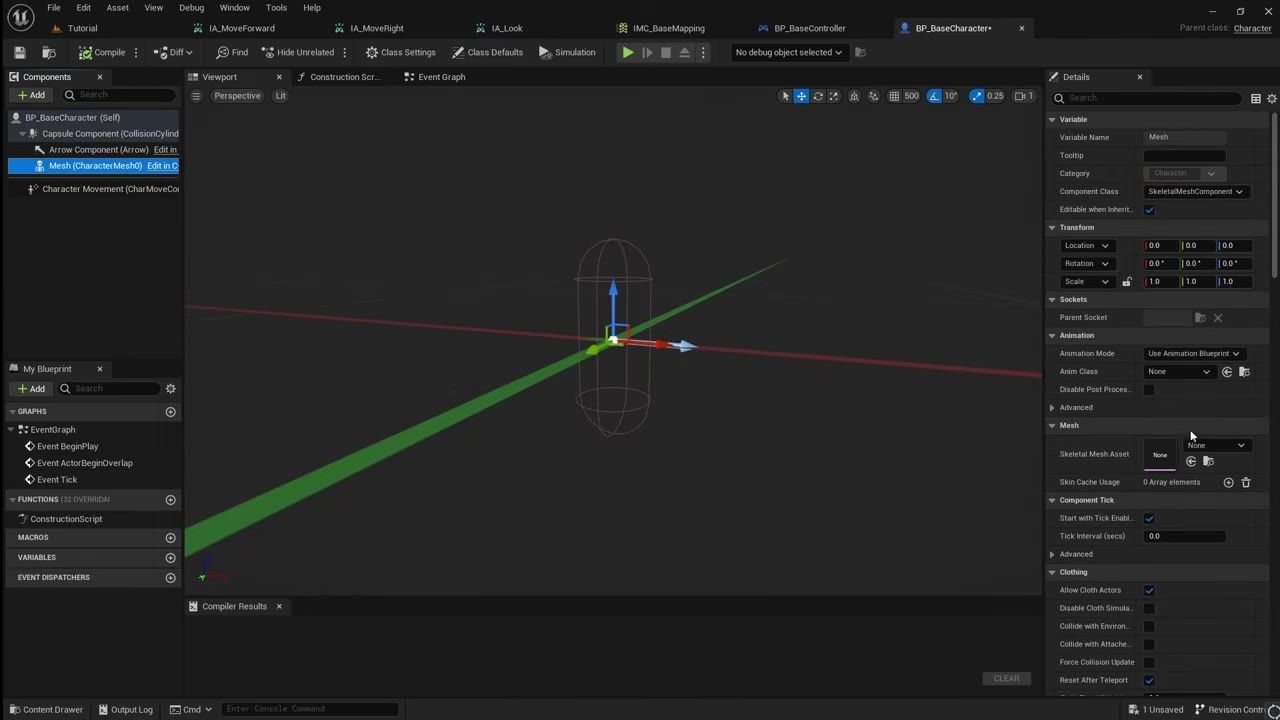
A character Blueprint viewport shows the capsule and selected Mesh component in the center of the scene. — H2 Unreal
Add a Spring Arm and Camera as components. Rotate and position for an over-the-shoulder view.
In the Details for the Spring Arm, enable Use Pawn Control Rotation (for camera-aligned control).
If you want the character to rotate independently from the camera, open Class Defaults for the character, disable Use Controller Rotation Yaw, and enable Orient Rotation to Movement.
In the Event Graph of the character Blueprint, wire up:
- Look input: split the 2D vector input, use X for controller yaw (left/right) and Y for controller pitch (up/down).
- Move Forward/Right input: use Add Movement Input, feeding in forward/right vectors from the control rotation and input scale values.
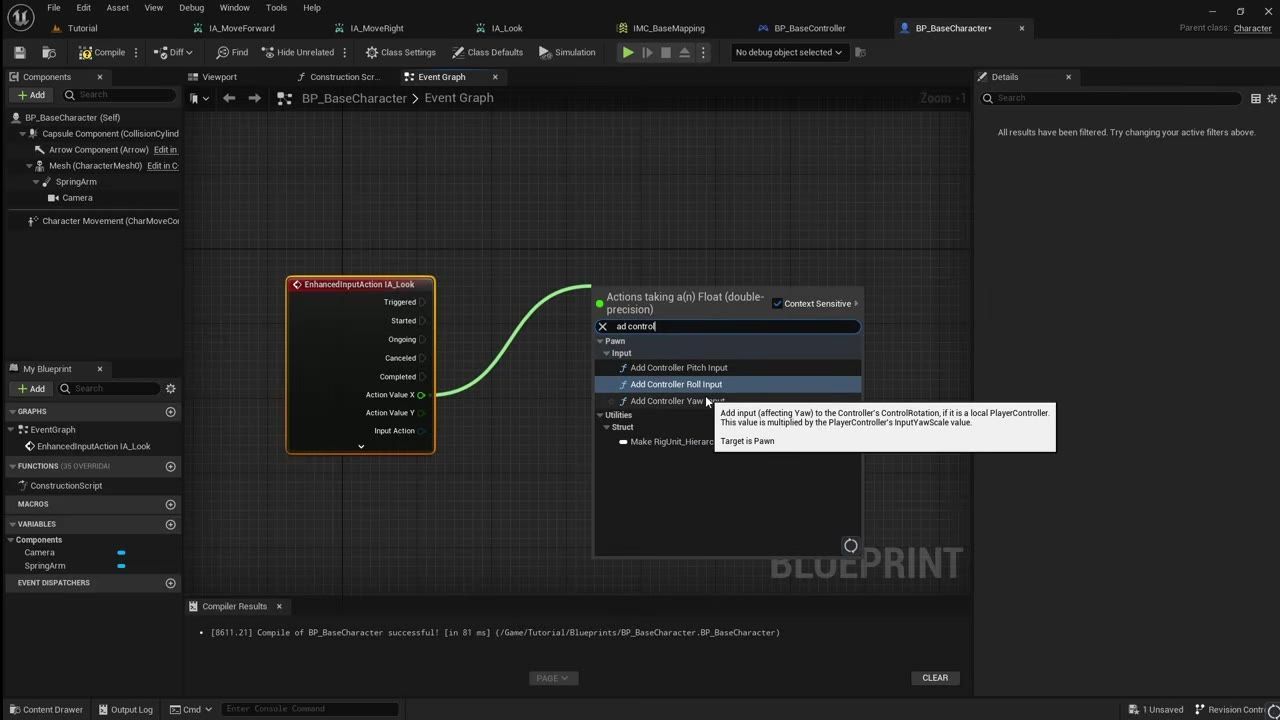
The BP_BaseCharacter Event Graph is open with an input action node and controller input options visible. — H2 Unreal


Viewport and Character Movement
Fine-tune the character and camera setup for correct in-game behavior:
steps
- For independent character and camera rotation, double-check:
- Use Controller Rotation Yaw is disabled.
- Orient Rotation to Movement is enabled.
- Movement logic uses Control Rotation, Forward Vector, and Right Vector as outlined above.
- Drag a Player Start into the level to define the spawn point.
Game Mode
Define the controller and character Blueprints the project will use at runtime:
steps
- In the Blueprints folder, create a new Game Mode Base Blueprint.
- Set the player controller class to your custom controller Blueprint.
- Set the default pawn class to your character Blueprint.
- In Project Settings > Maps and Modes, change the Default GameMode to your new Blueprint.
- Save and return to your level.

Project Settings is open on Maps & Modes with the Default GameMode field visible. — H2 Unreal
Animation Blueprint
Add animation for walking and idle states so your character is visibly alive in Play mode:
steps
- Create an animations folder and add an Animation Blueprint for your chosen character mesh.
- In the Event Graph:
- On Event Begin Play, store a reference to the character pawn (cast as needed).
- Use the character movement component to get velocity and convert this to speed (vector length XY). Store speed as a variable.
- In the AnimGraph, add a State Machine with two states: Idle and Walking.
- In the Idle state, assign an idle animation. Set to loop.
- In the Walking state, assign a running or walking animation. Set to loop.
- Set state transitions:
- Transition from Idle to Walking when speed > 0.
- Transition from Walking to Idle when speed ≤ 0.
- Back in the character Blueprint, ensure Use Animation Blueprint is selected and your Animation Blueprint is assigned.
- Compile and save all assets.
Also worth knowing
- Always add input mapping contexts: If controls are not working, double-check the mapping context is added on Begin Play by the player controller.
- Check mesh and animation compatibility: If walk animations snap or look wrong, confirm the character mesh root bone setup matches the animation.
- Idle-only animations usually mean speed issues: If only idle animations play, inspect the speed variable or transition logic in your Animation Blueprint.
- Mouse look requires matching settings: For camera control, ensure controller rotation settings and orient-to-movement options are paired correctly.
- Not spawning as your character points to Game Mode: If you start at a default camera and not your character, make sure the game mode and default pawn settings are assigned to your Blueprints.
:::faq
how to start an Unreal Engine project
Open Unreal Engine and create a new project from the launcher. Once in the editor, you can organize your Content Browser folders and begin adding assets as described.
Unreal Engine beginner third person tutorial
Follow the sections above to create input actions, map controls, build the controller and character Blueprints, hook up the game mode, and add animations for a playable third-person character.
Unreal Engine blueprint basics
Blueprints are Unreal Engine's visual scripting system. You use them here to implement the controller, character, animation logic, and overall game rules without needing to write C++.
Unreal Engine character movement guide
Character movement is driven by input actions mapped to movement and look axes. These are handled in the character Blueprint using built-in nodes for direction and movement, with options to rotate the character independently or alongside the camera.
Unreal Engine install and setup
Download and install Unreal Engine via the Epic Games Launcher. Open the editor, start a new project, and follow the process above to start building your first scene.
Unreal Engine first playable scene
Add a Player Start to the level, set up your Game Mode and Blueprints as described, and press Play in the editor to test movement, camera, and animations for your third-person character.
Official reference: Unreal Engine documentation.
Sources
Screenshots on this page are frames from the videos below, used to illustrate the steps they describe. All rights remain with their creators.
- How To Make A Third Person Character in Unreal Engine 5 - Beginner Tutorial — H2 Unreal, July 24, 2024
Checked against: